Set up your organisation
A new organisation starts empty. The dashboard shows a Getting started card that tracks five steps and marks each one done from real data, so it disappears on its own once you are through it.
Create the project and subcontractor first. After those prerequisites exist, you can invite users, create an exclusion zone and create the first work activity in any order. Each item uses an existing ToolboxFM screen, so you can leave the dashboard and return without losing your progress.
-
Create a project. A project is the top of the hierarchy — everything else hangs off it.
Go to ToolboxFMProjectsNew project and give it a name and address. The timezone defaults to your own; change it if the project is somewhere else. You can add the public landing page and contacts later.
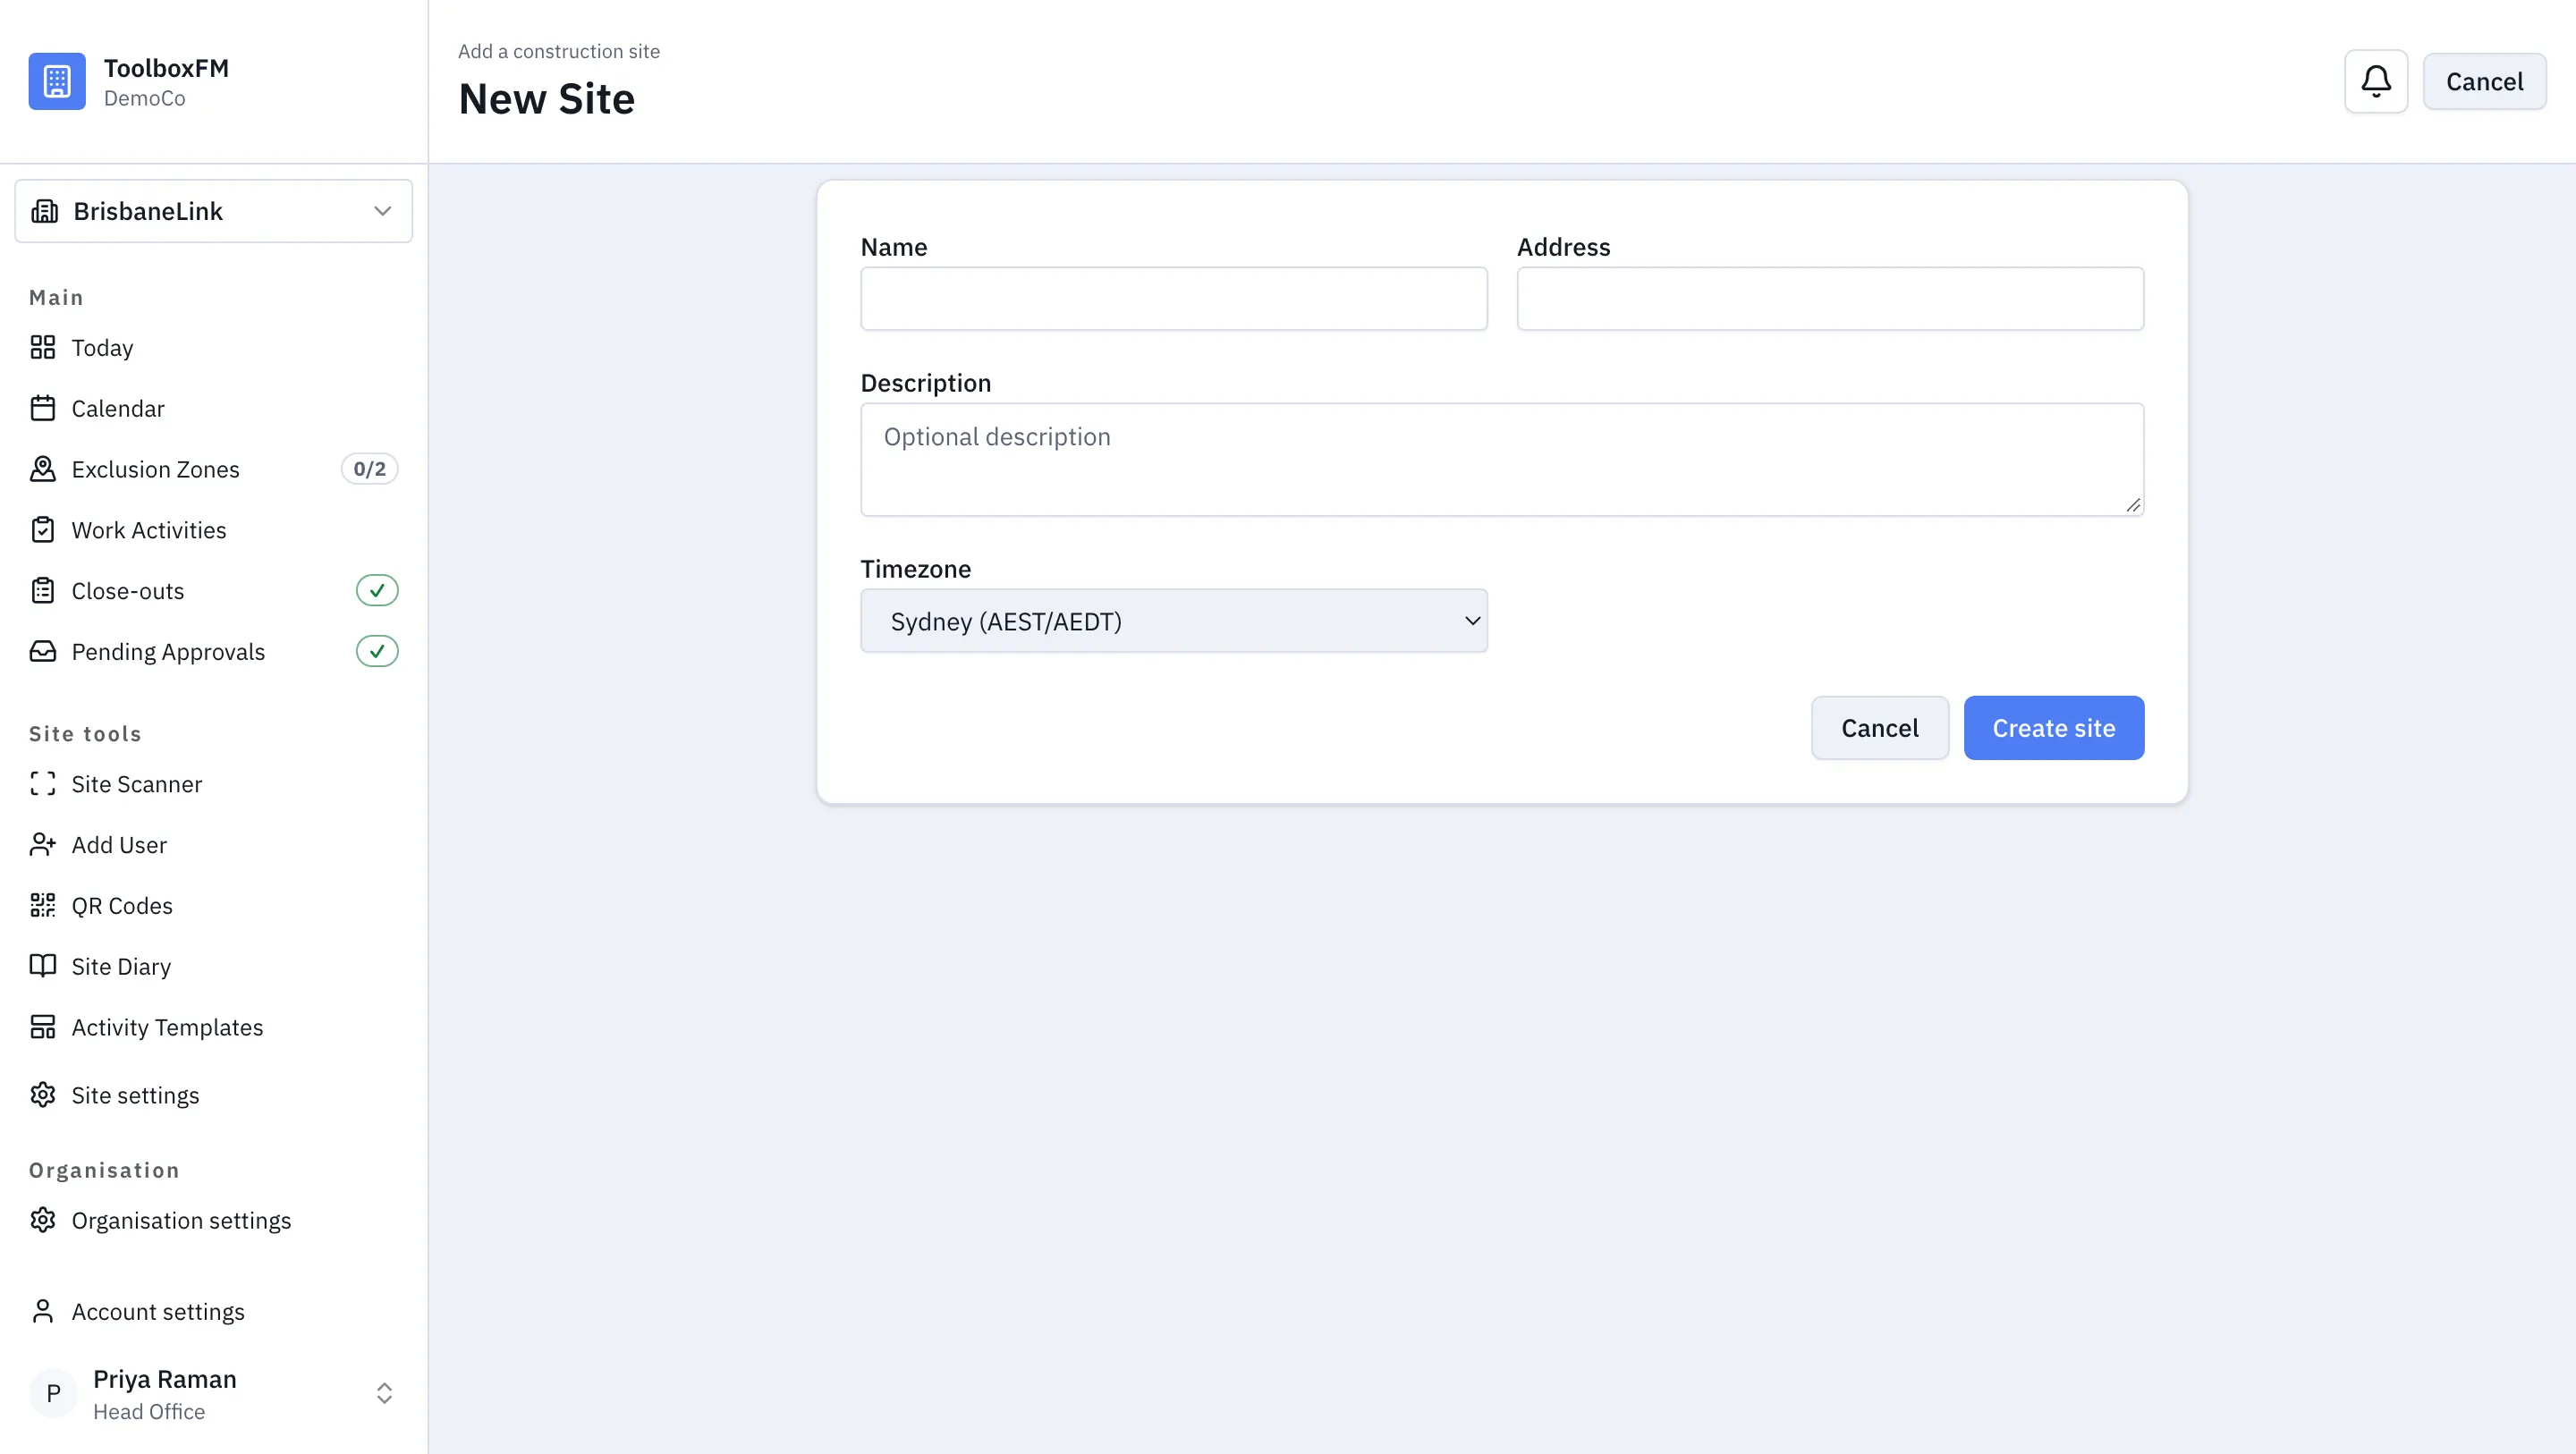
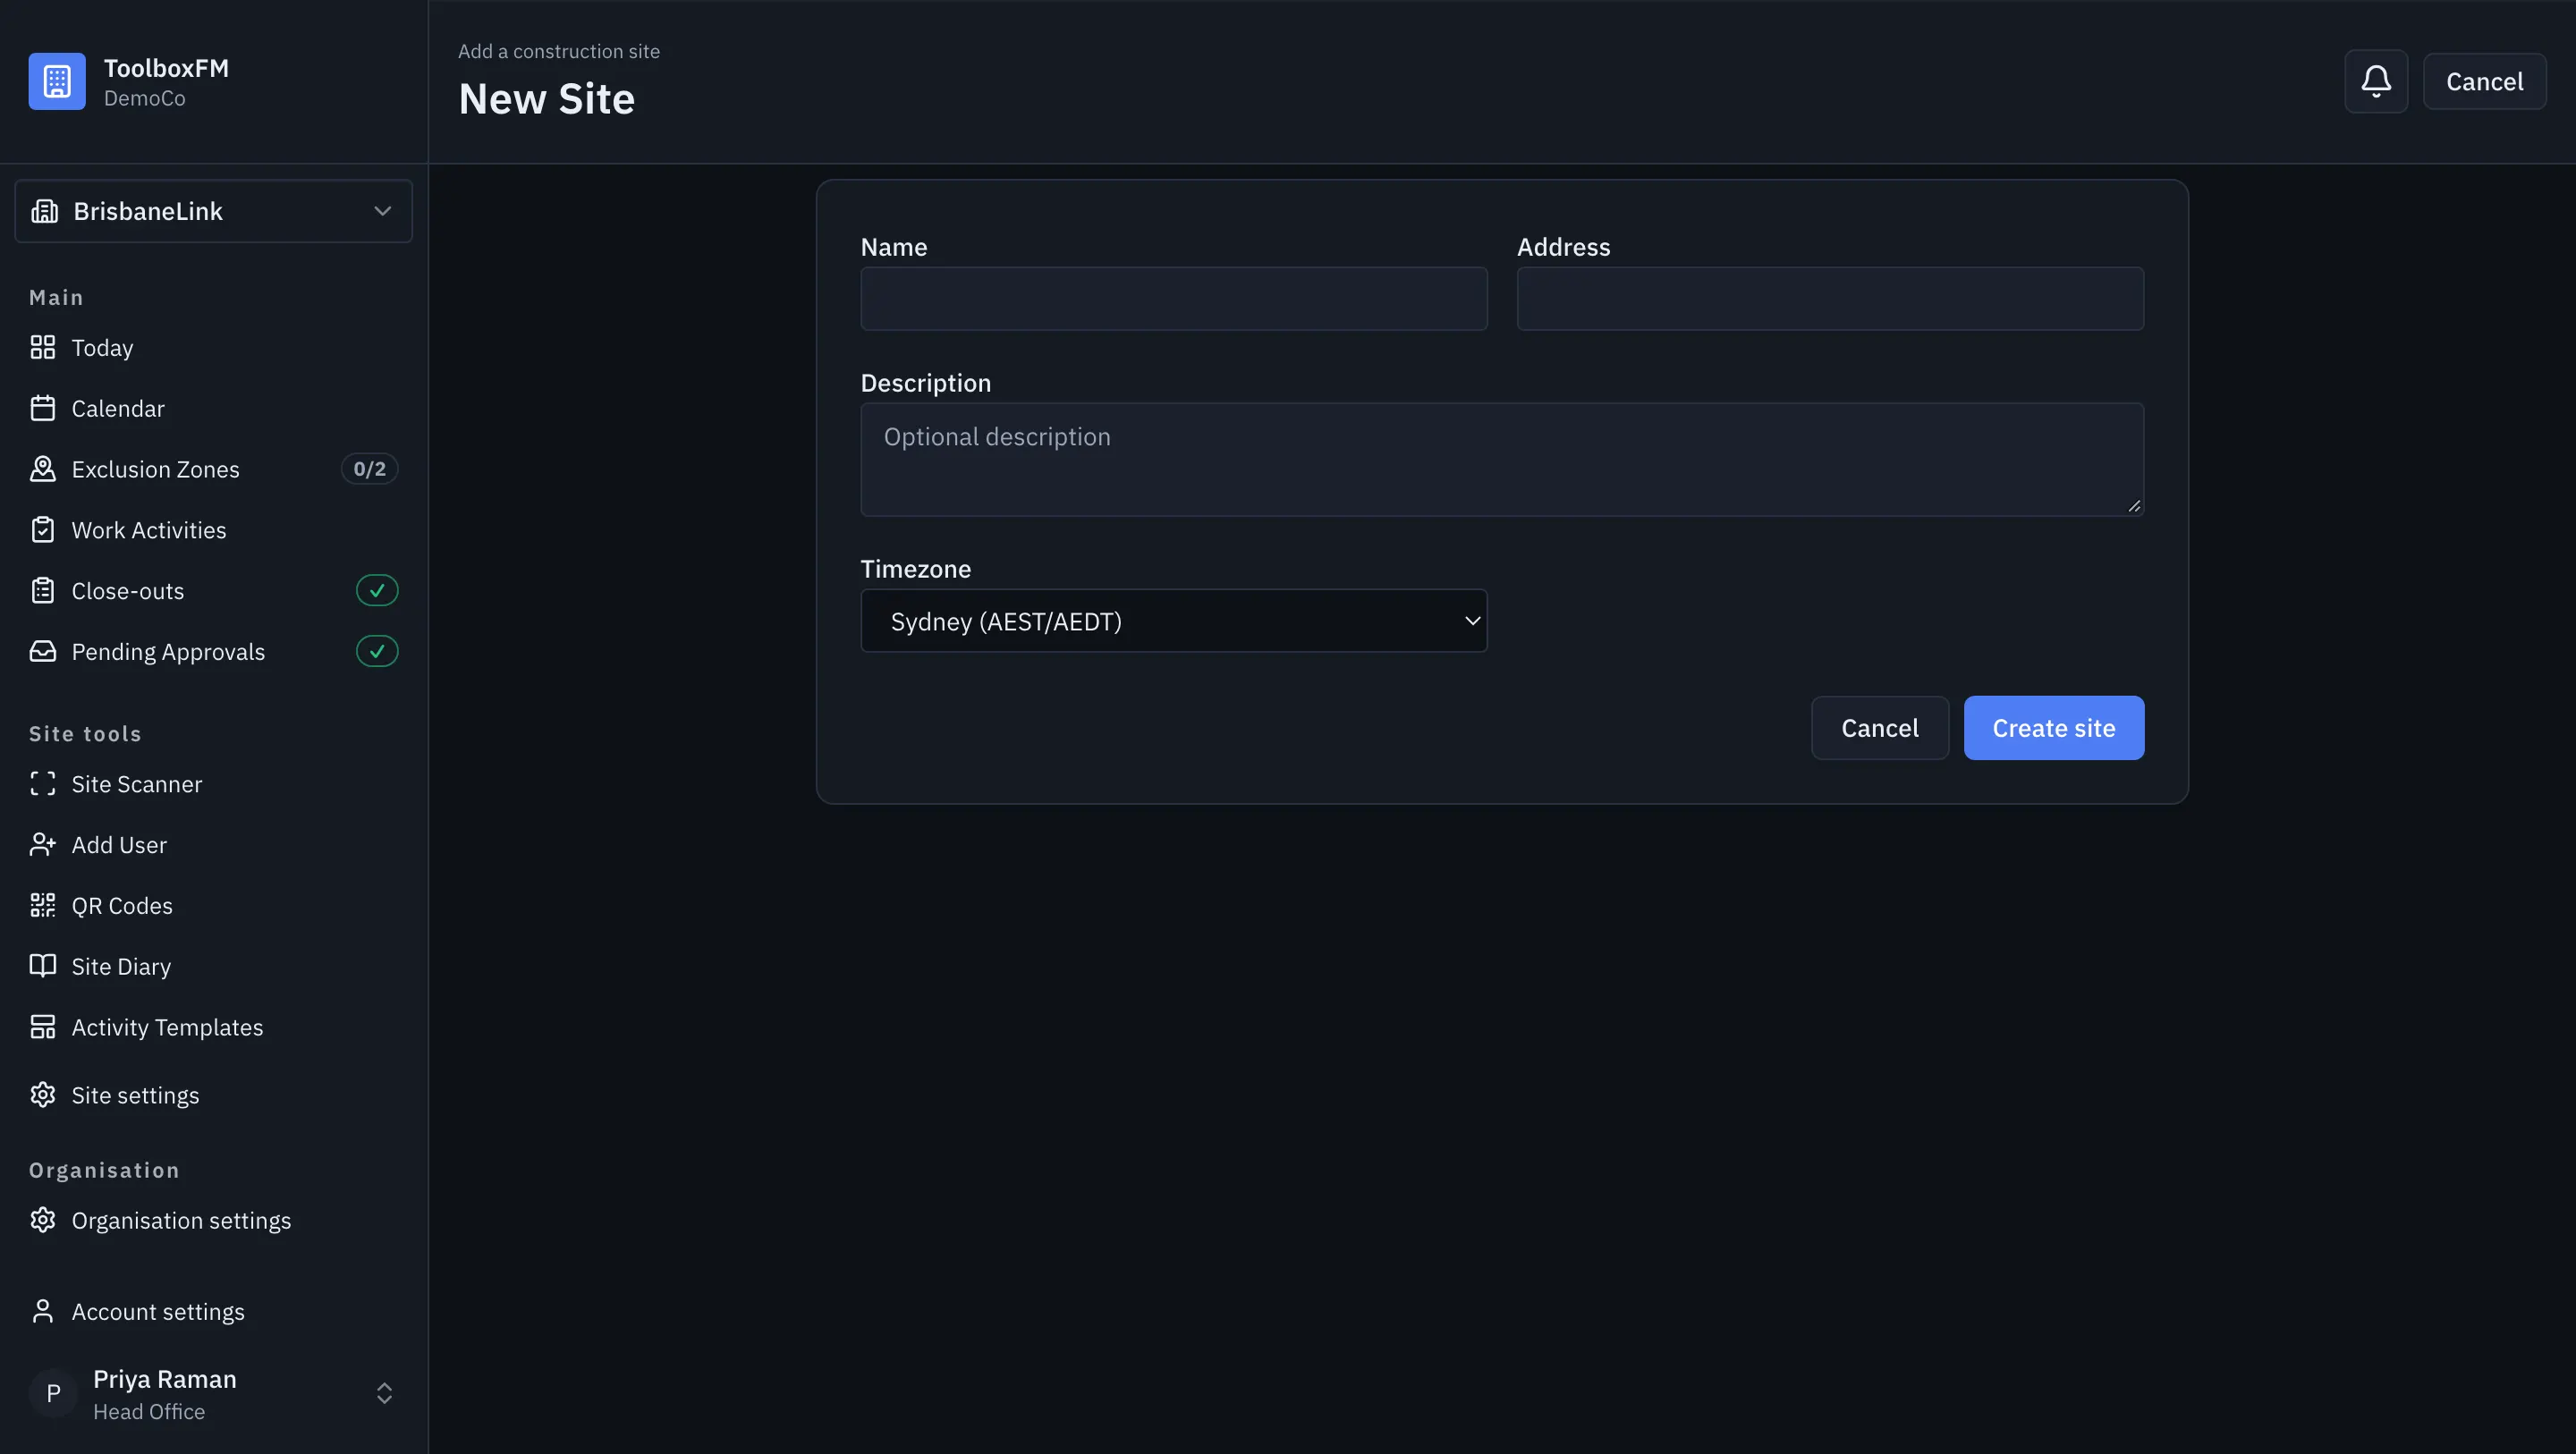
Step 1 — a project needs a name and an address. Nothing else is required to move on. -
Create a subcontractor. Add the company that will carry out work on the project. Creating the company before inviting its supervisors means you can connect them to the right business when you send the invitation.
Go to ToolboxFMSubcontractorsNew subcontractor and enter the business name. Assign specific projects, or leave the project list empty to make the subcontractor available on every project.
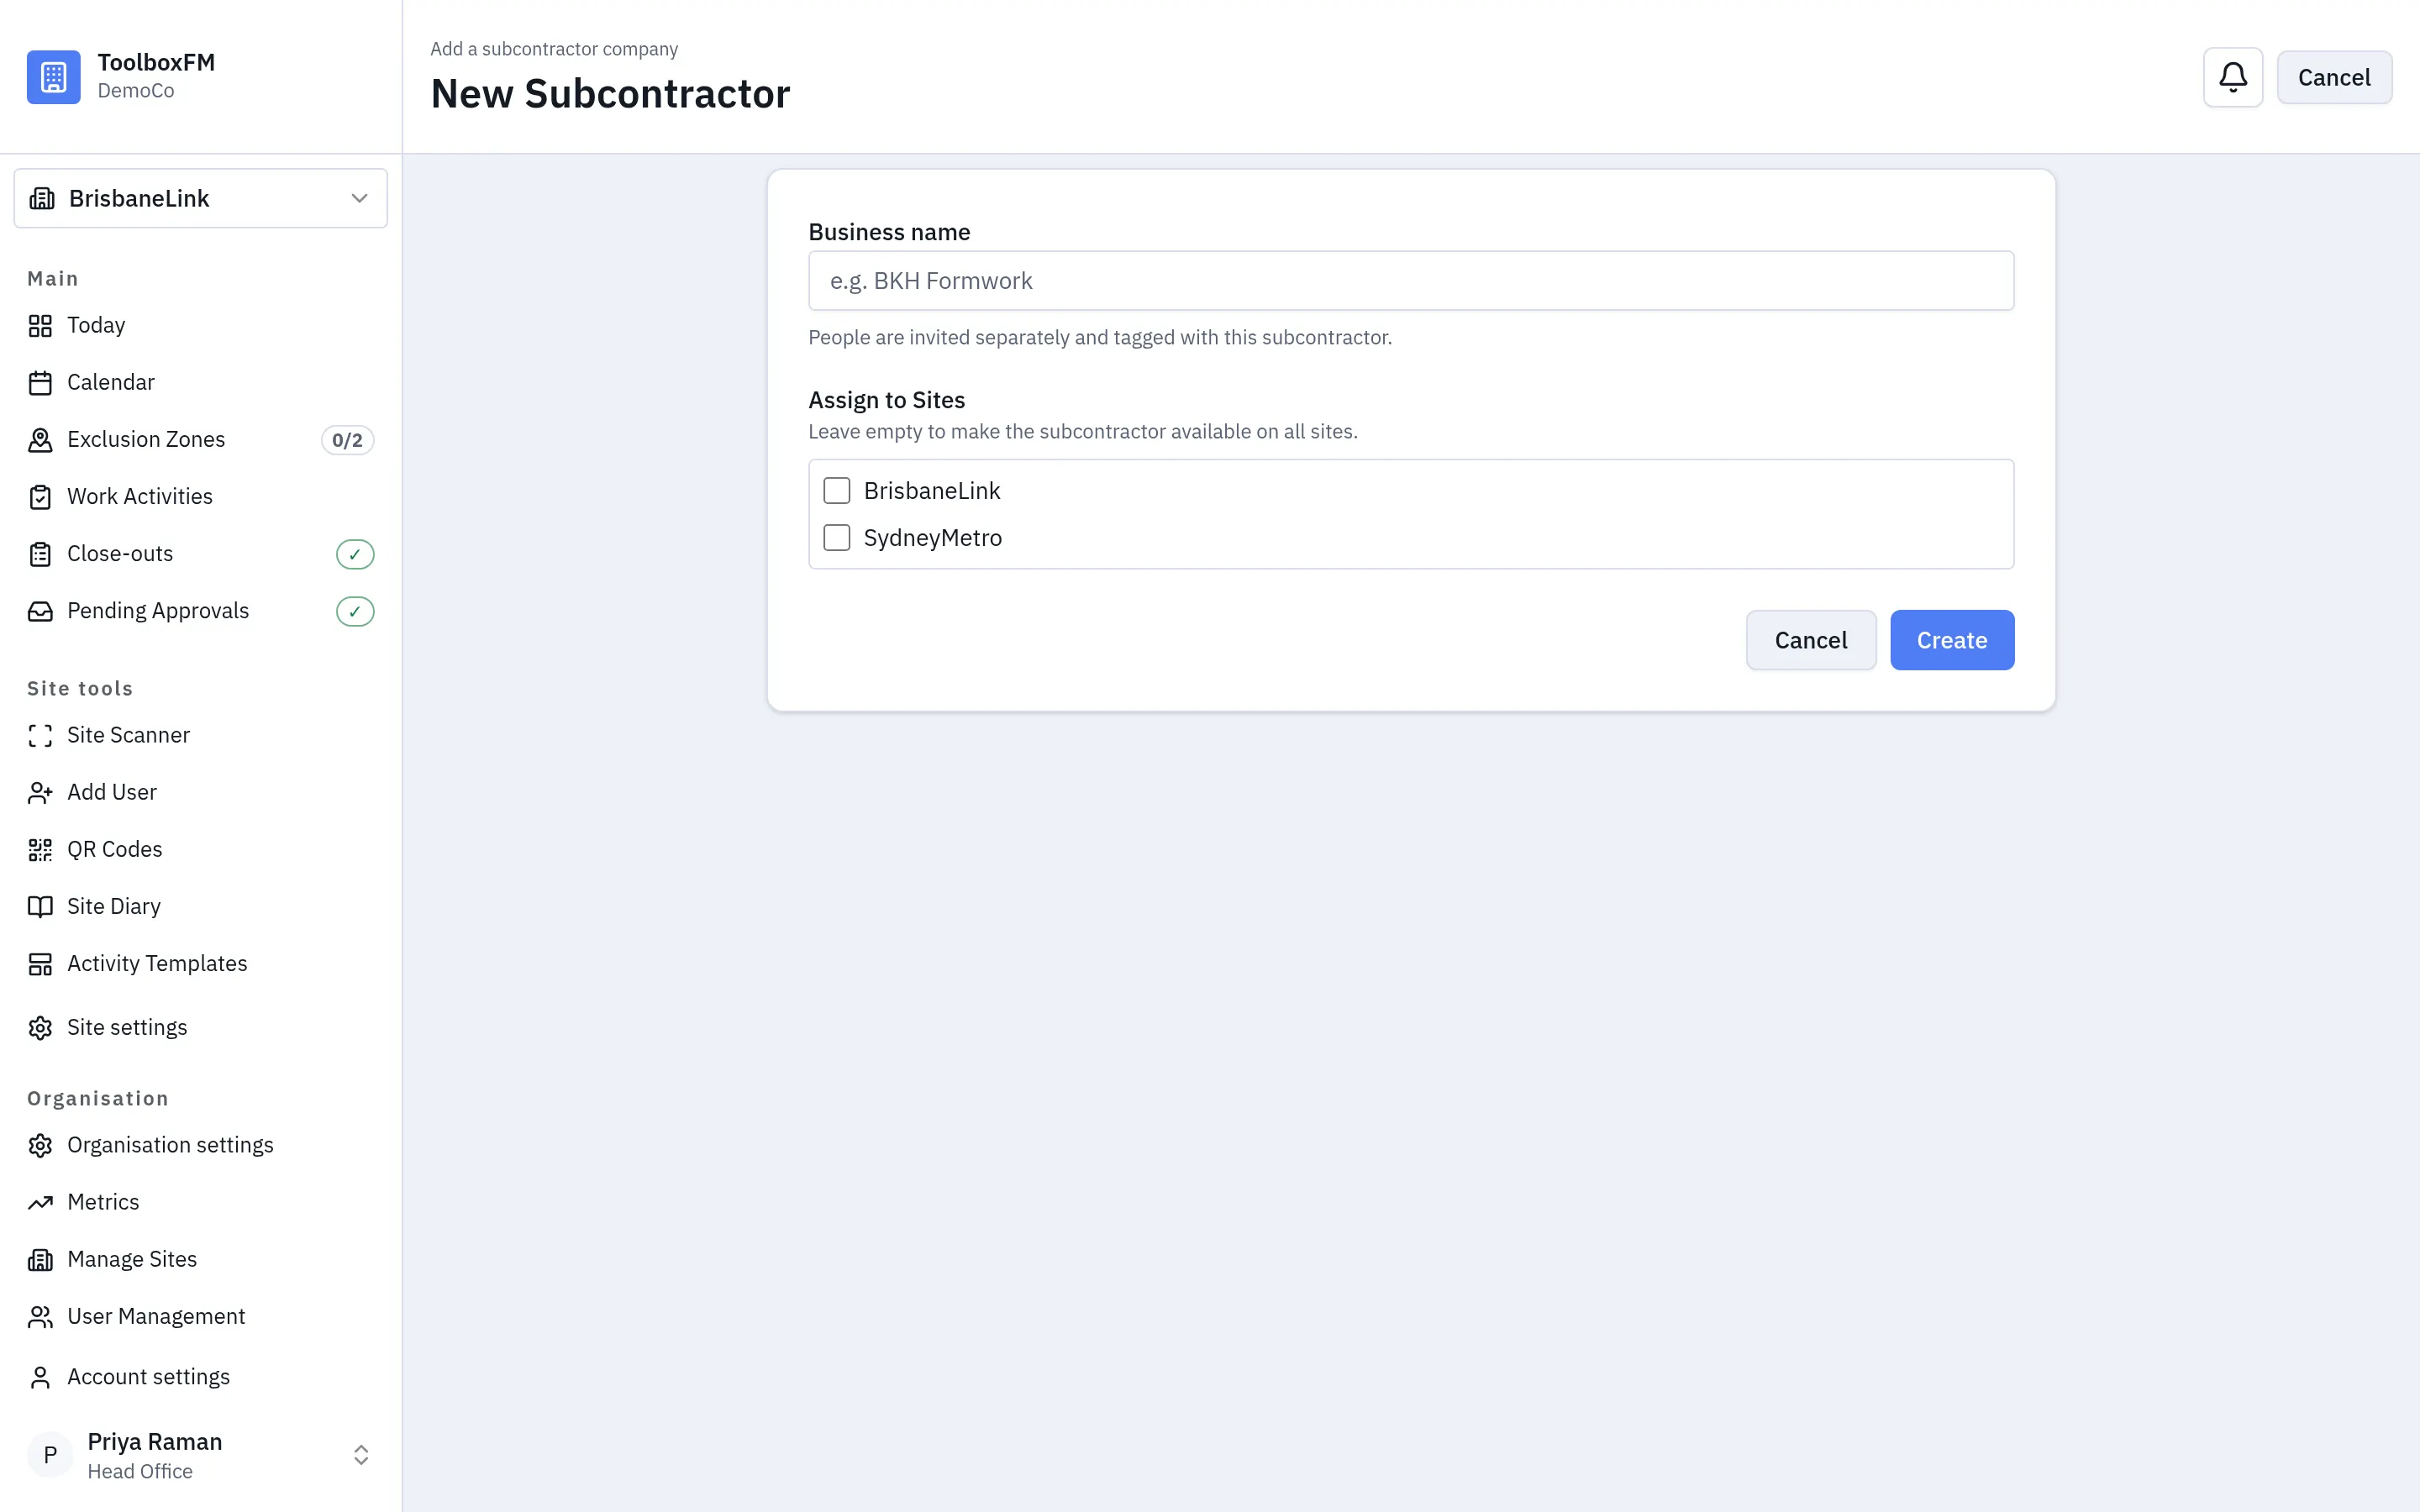
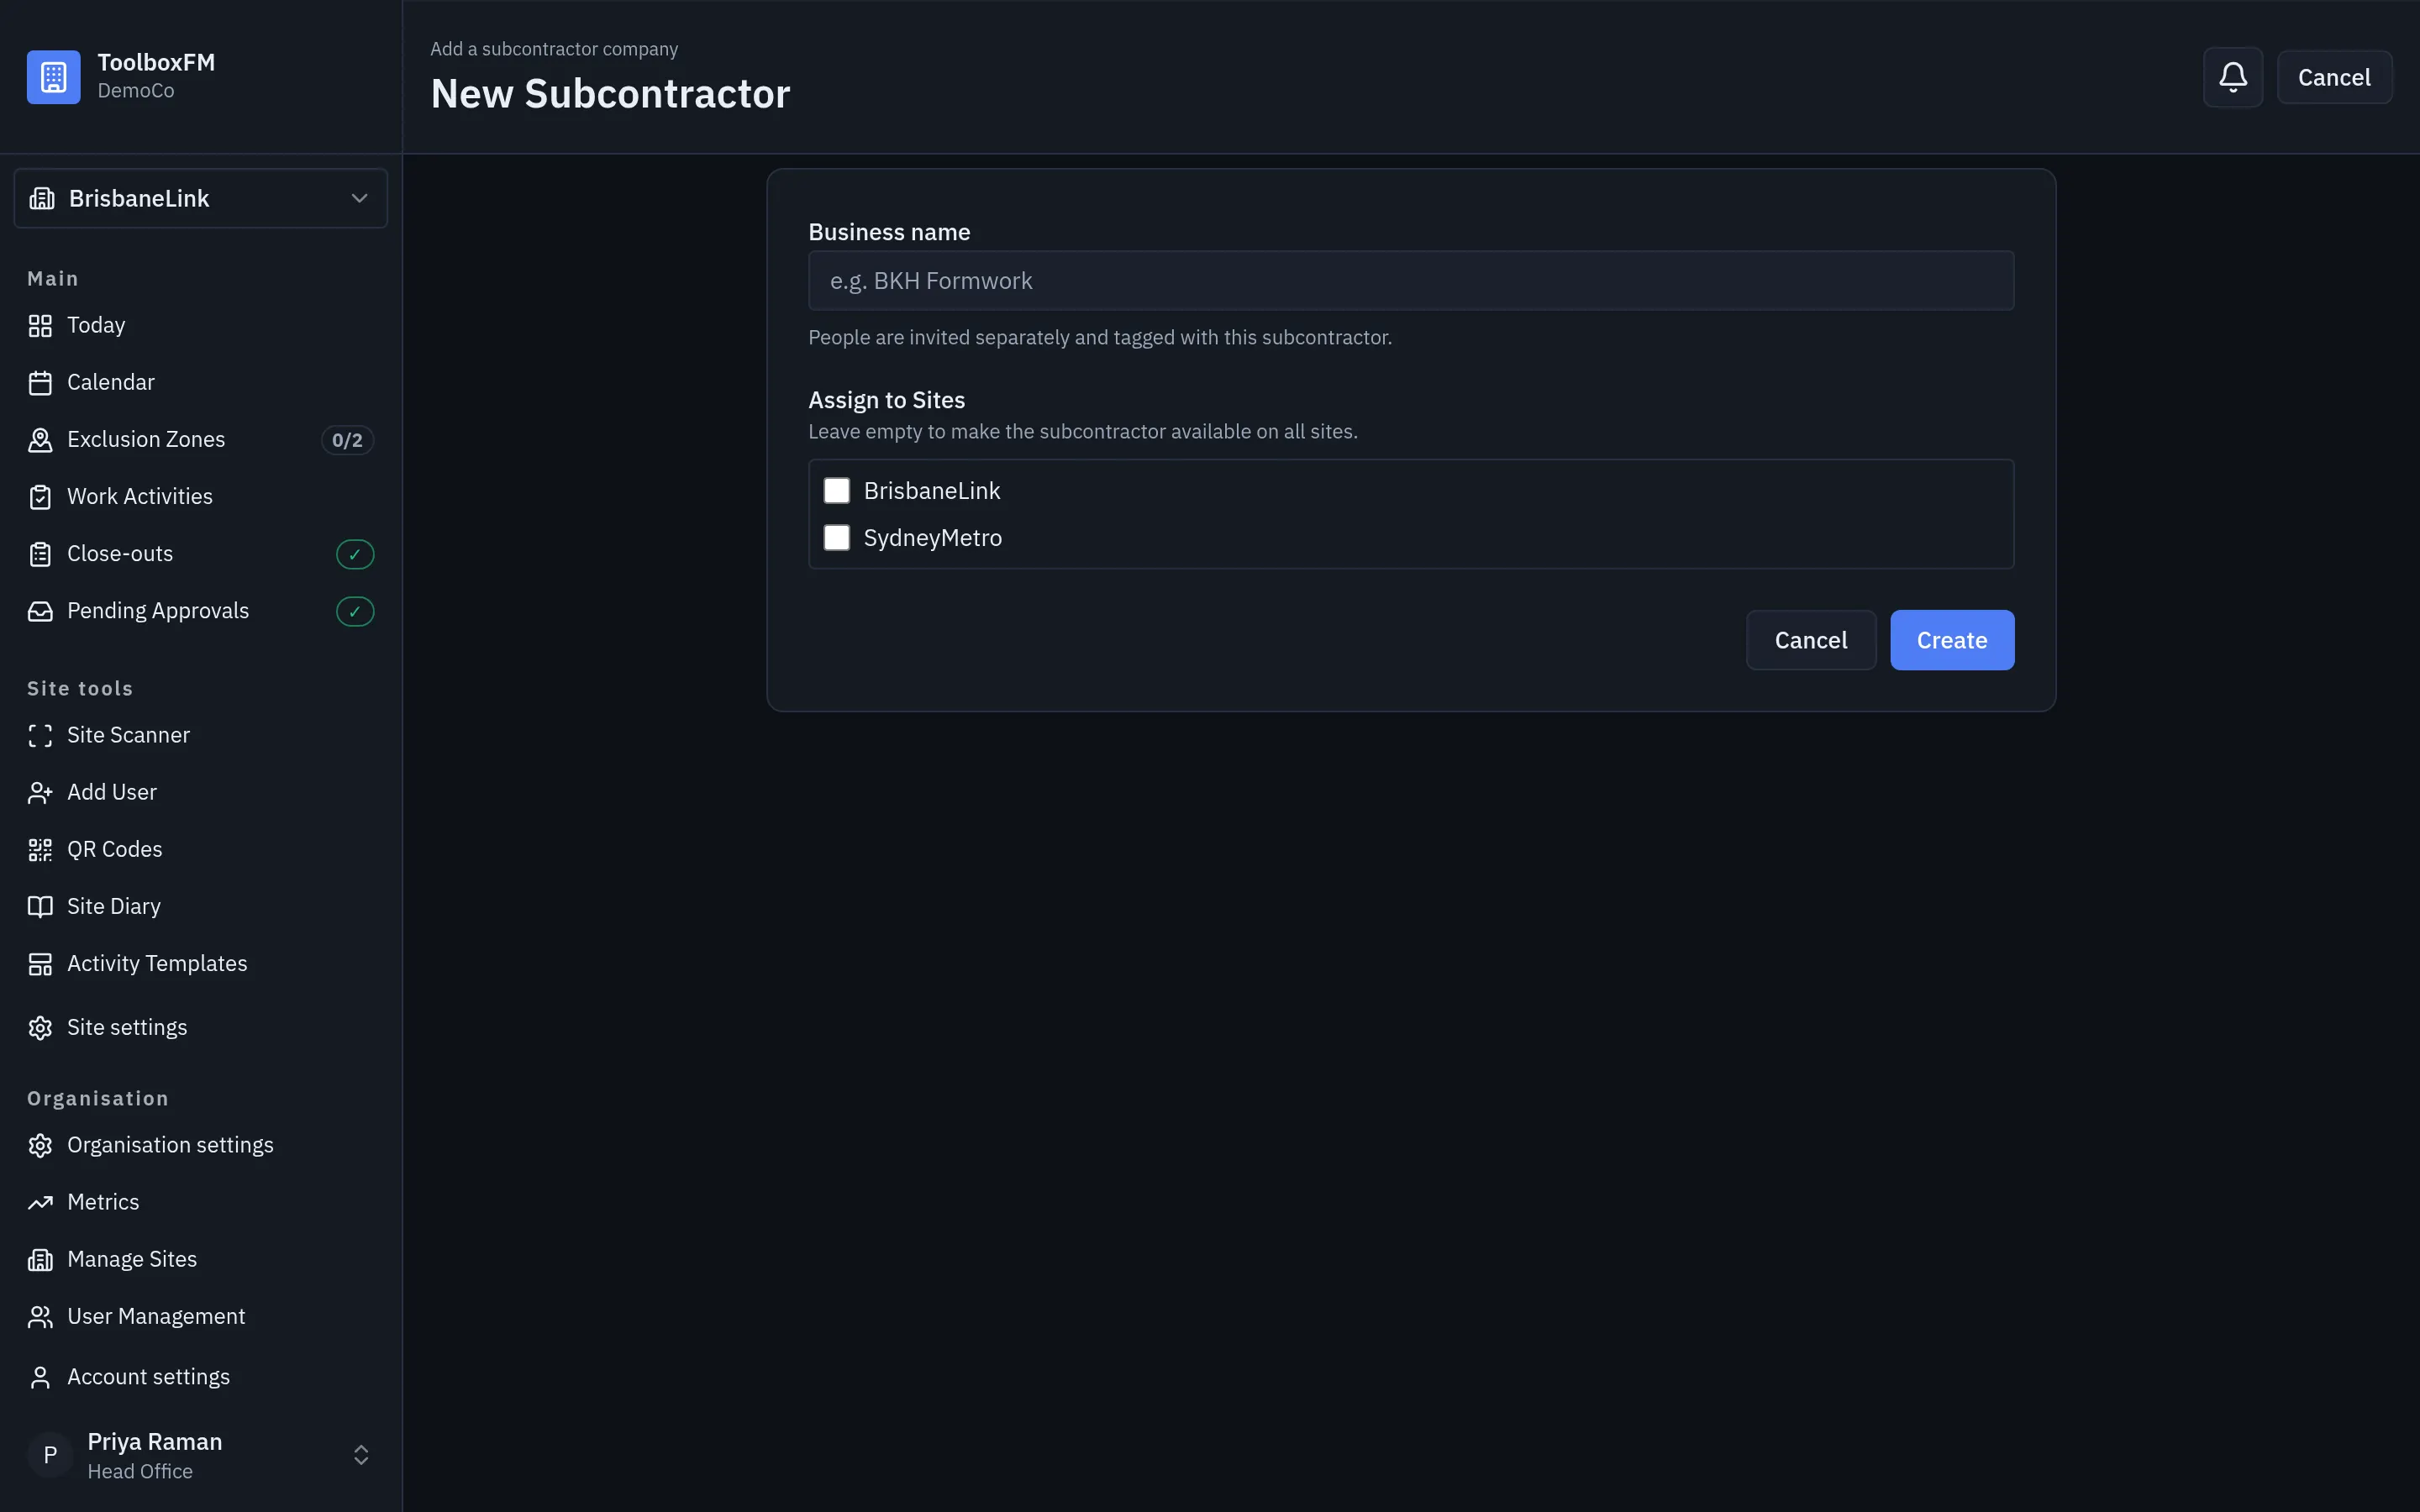
Step 2 — register the company before inviting the people who supervise its work. -
Invite users. Add the supervisors and workers who need access to the project. The checklist marks this step done when you send the first invitation; the person can accept it later.
Go to ToolboxFMProject AccessAdd User and enter the person’s name, email address and role. For a Subcontractor Supervisor, select the subcontractor you created in the previous step so their work requests are attributed automatically.
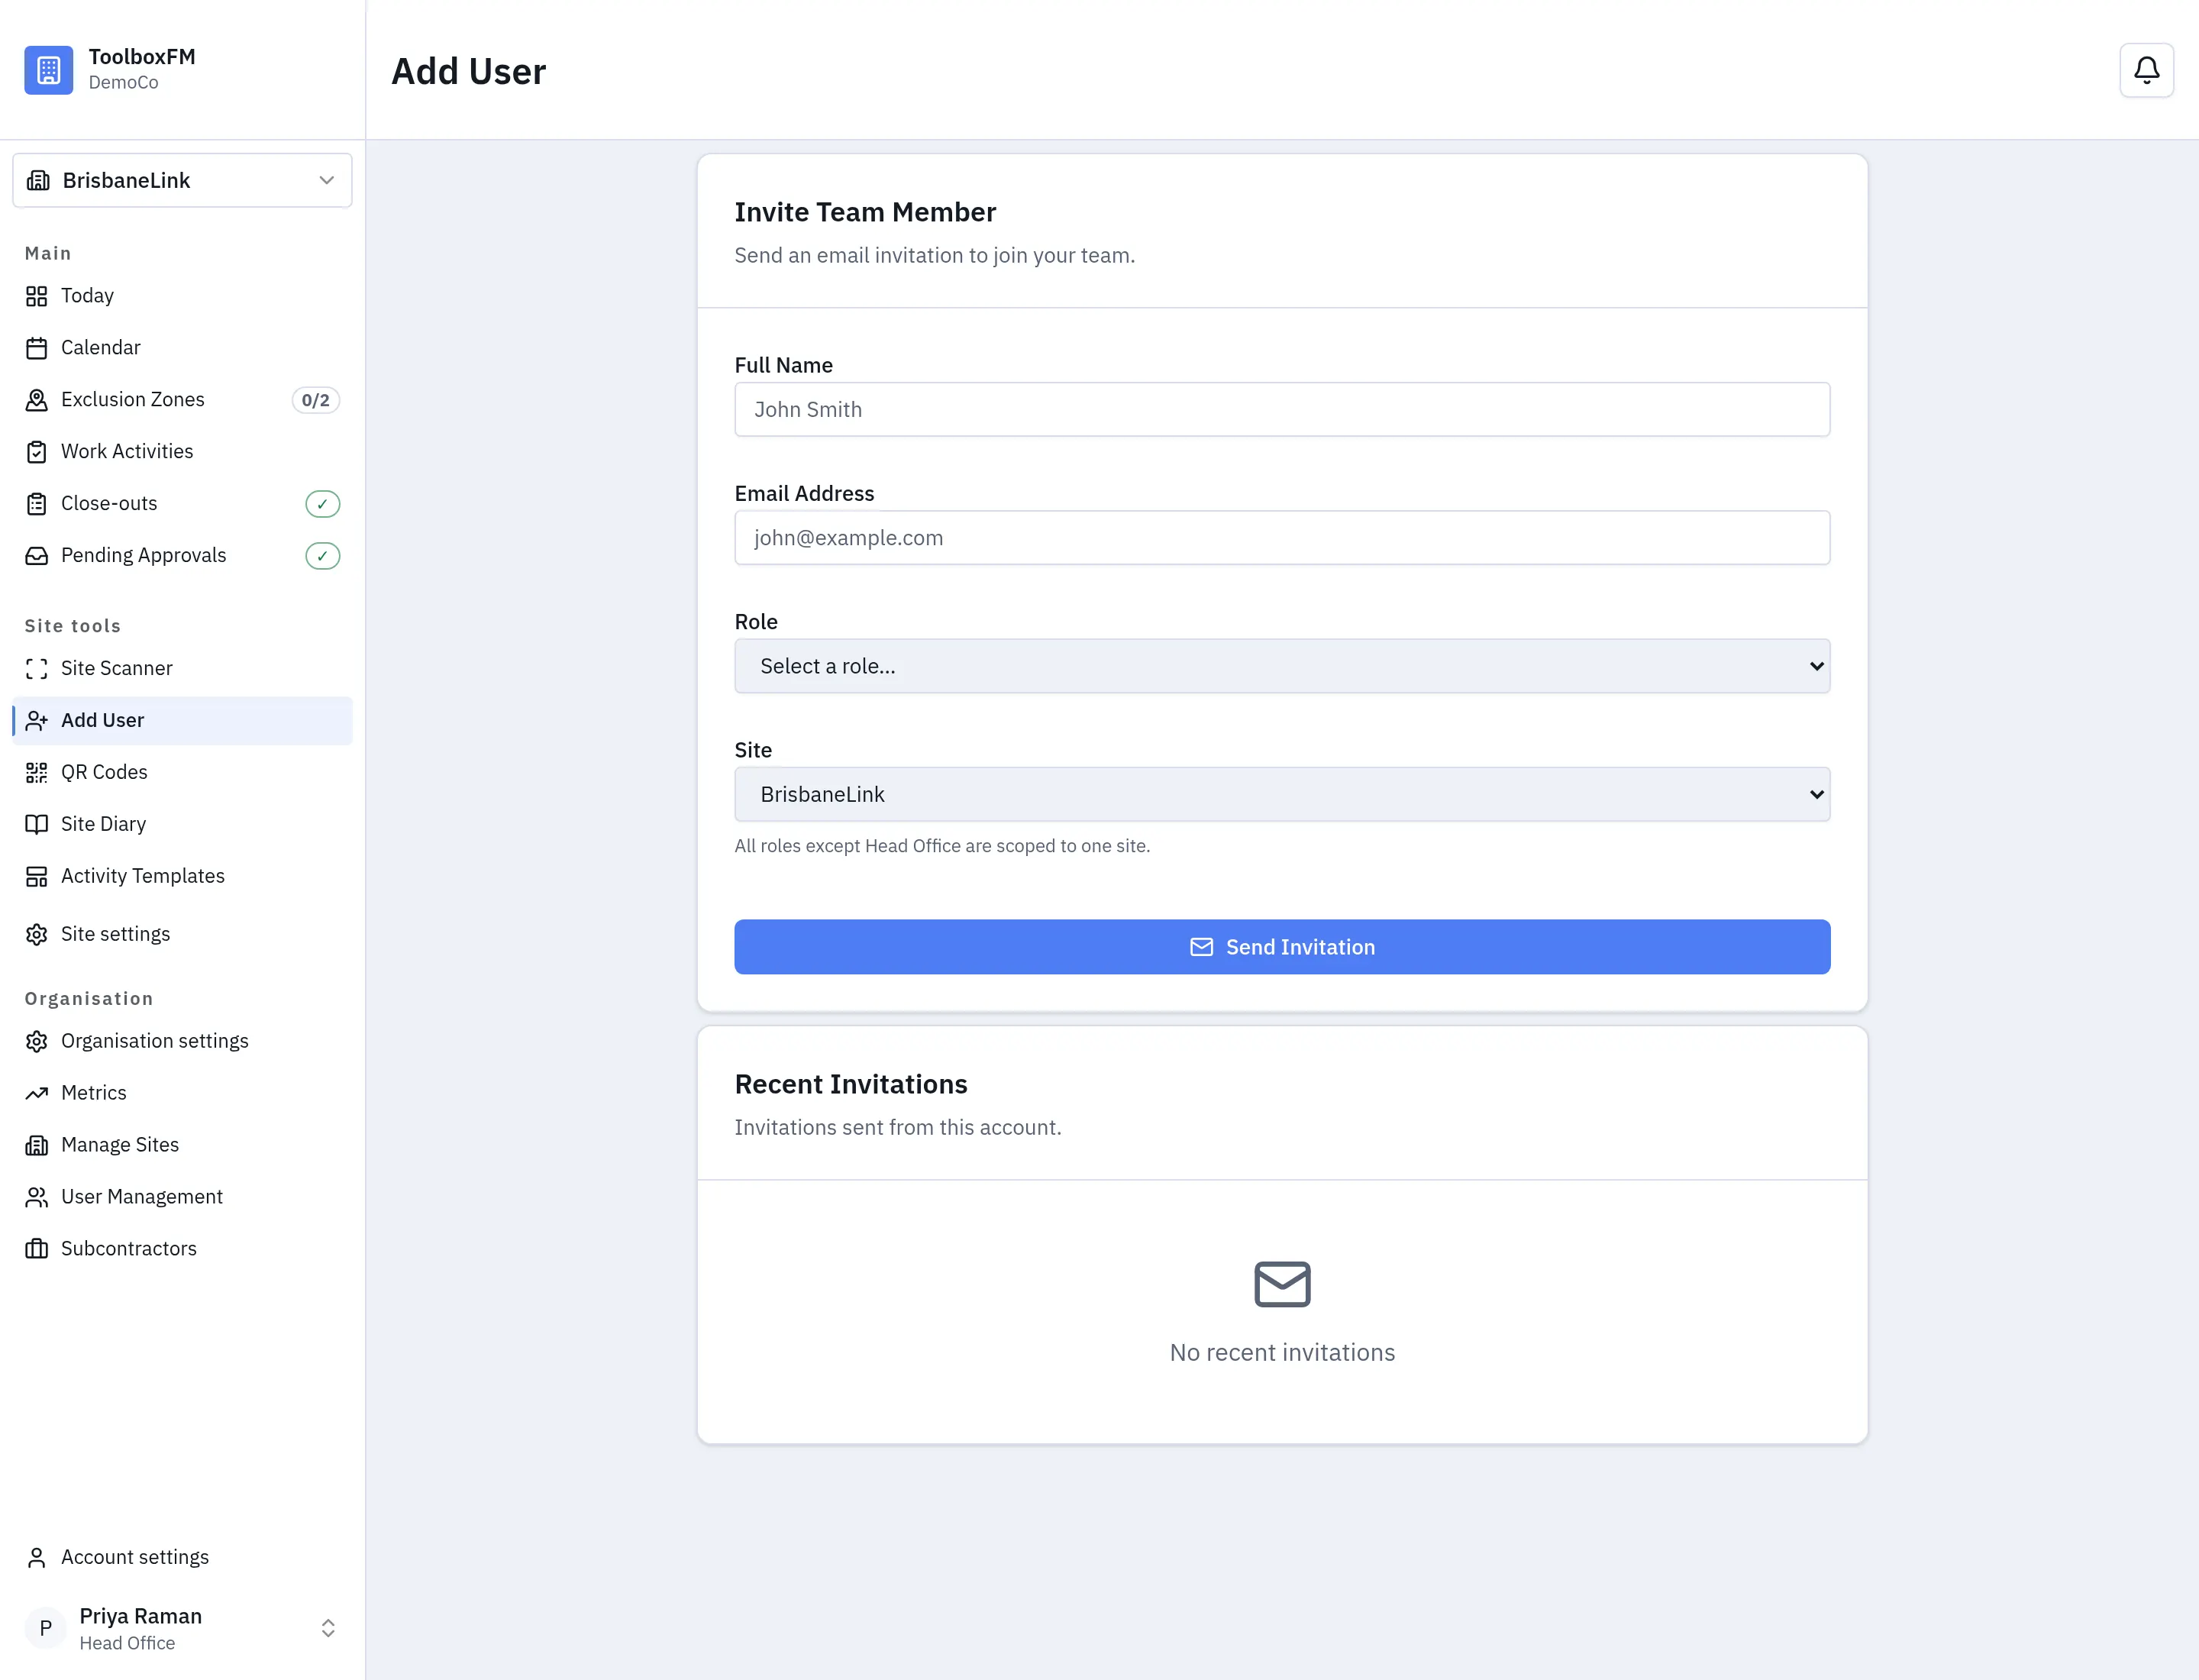
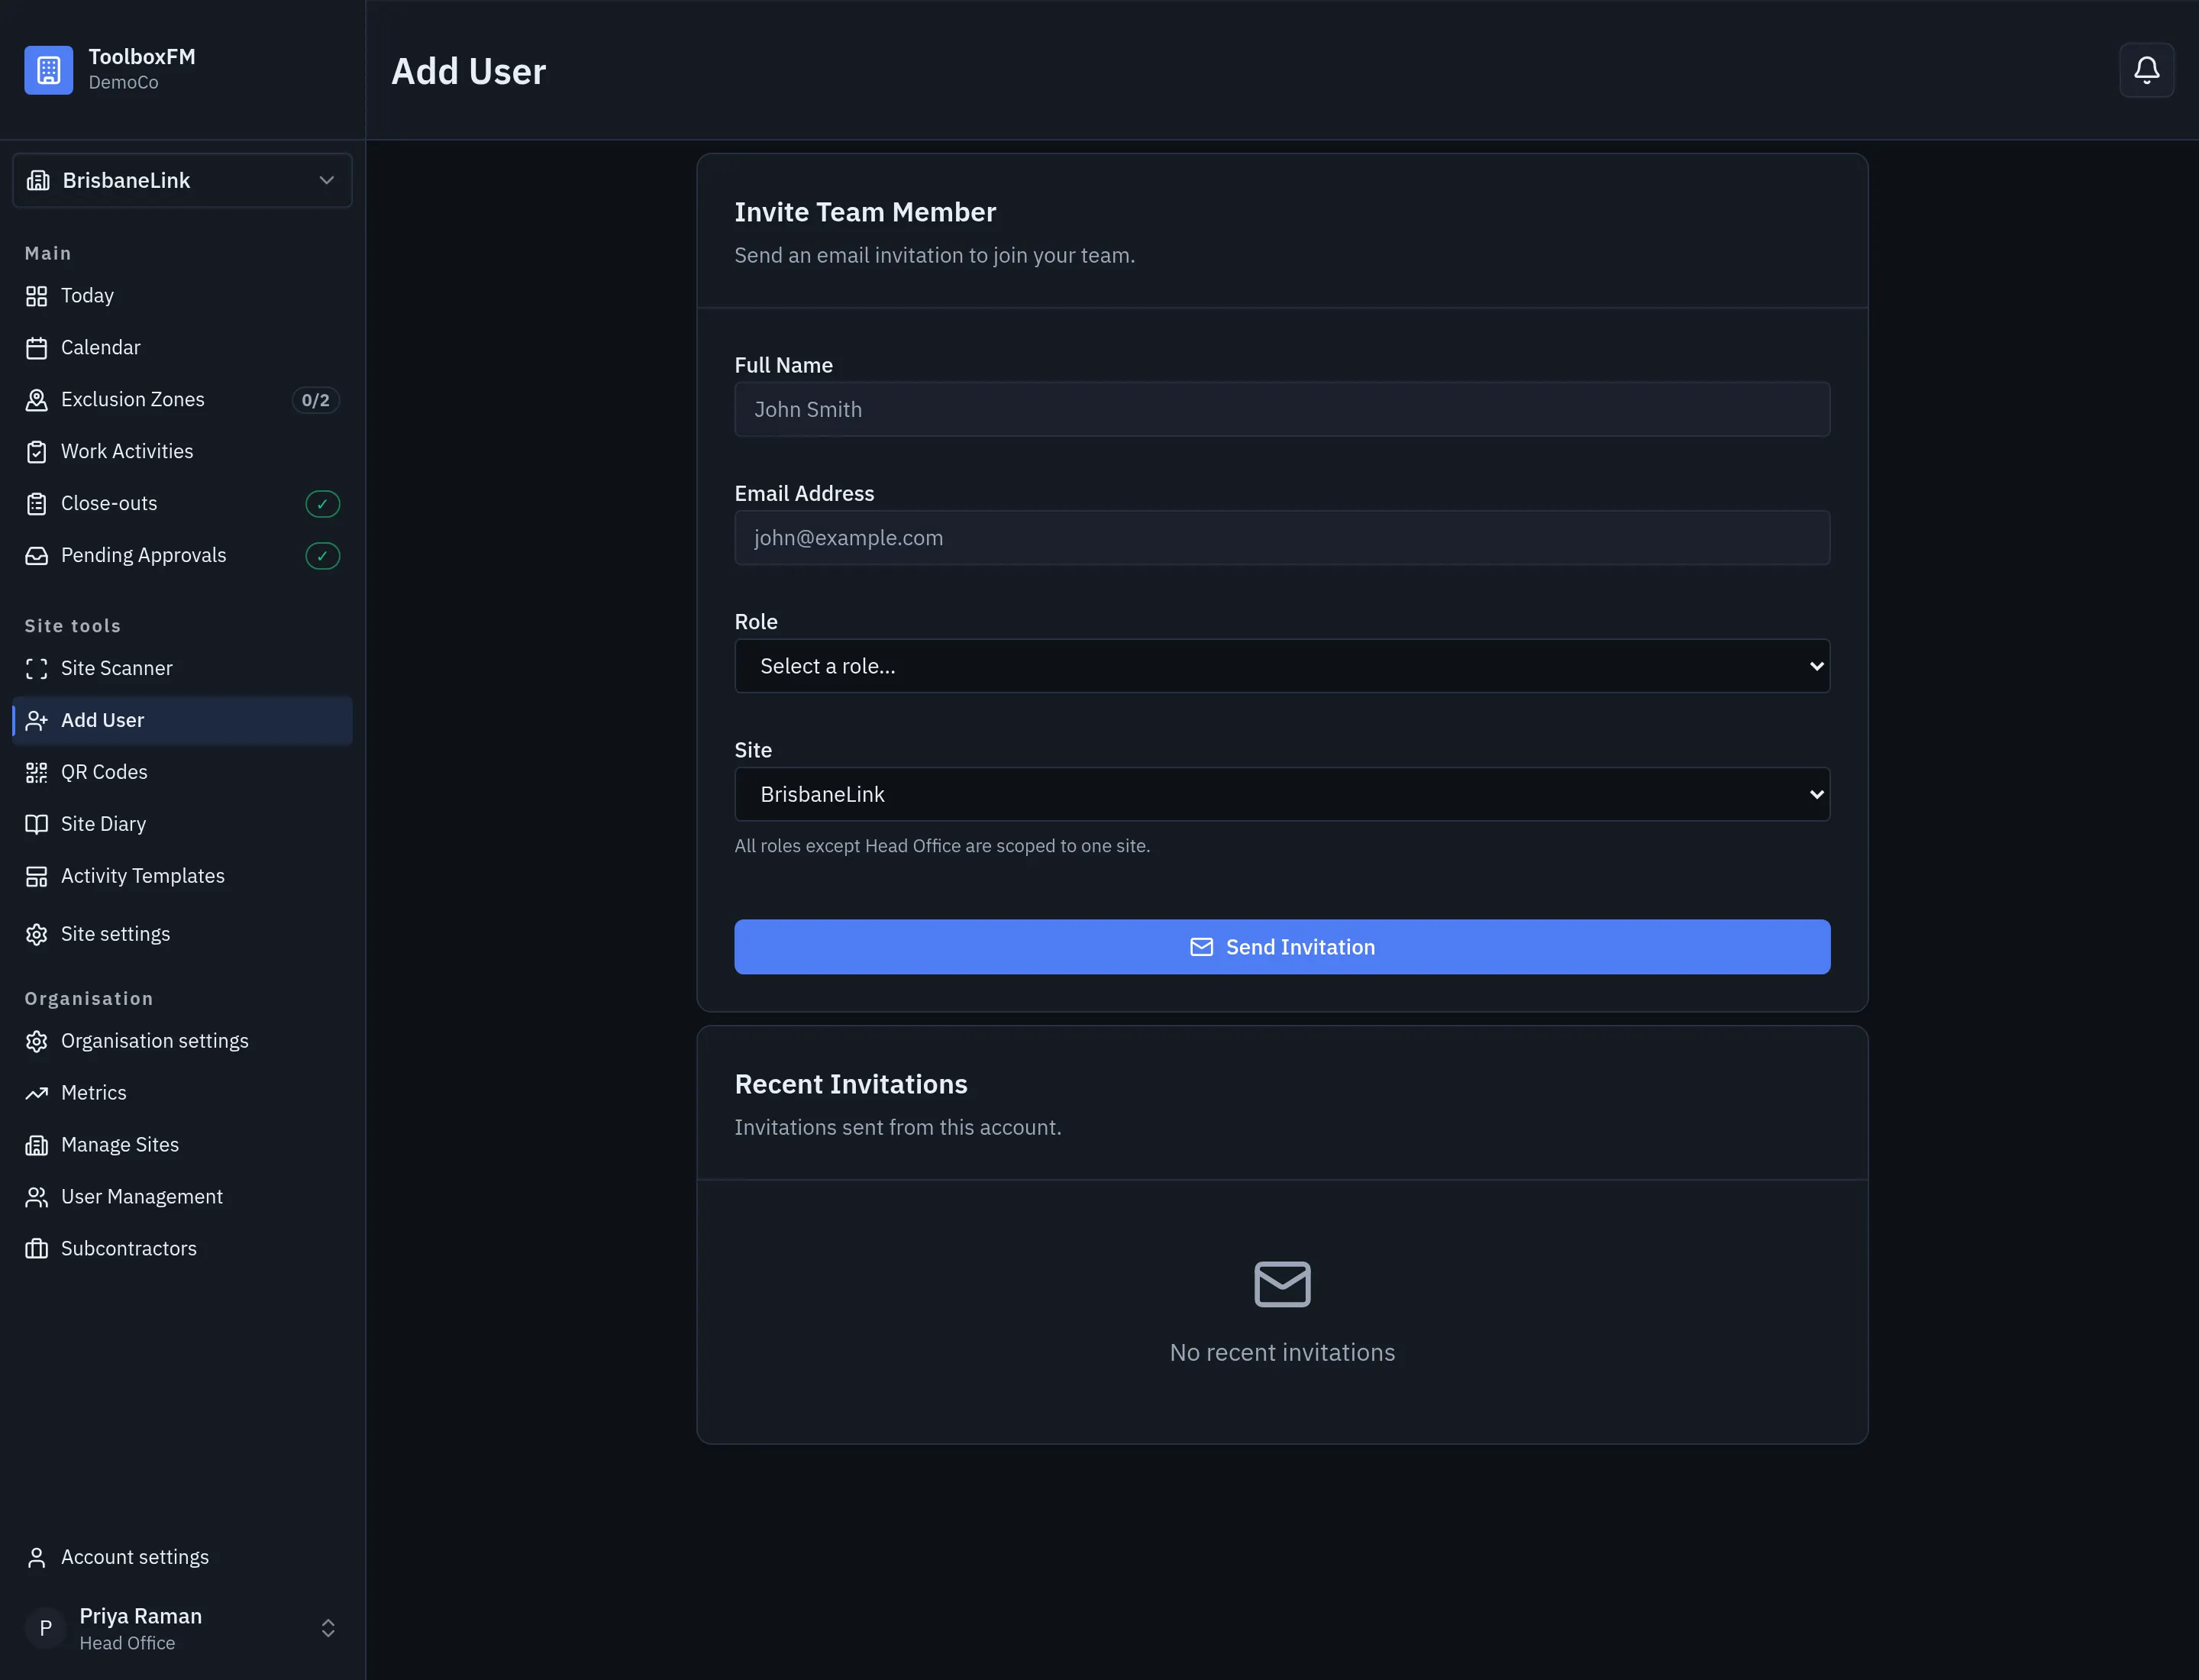
Step 3 — invite the team and connect subcontractor supervisors to their company. -
Create an exclusion zone. Mark out an area where only one crew may work at a time. Even if most of your zones are not exclusive, creating one now means the clash checks are meaningful from day one.
Go to ToolboxFMExclusion zonesNew exclusion zone. This is also where you set whether the zone is exclusive — a normal zone can hold as many crews as you like.
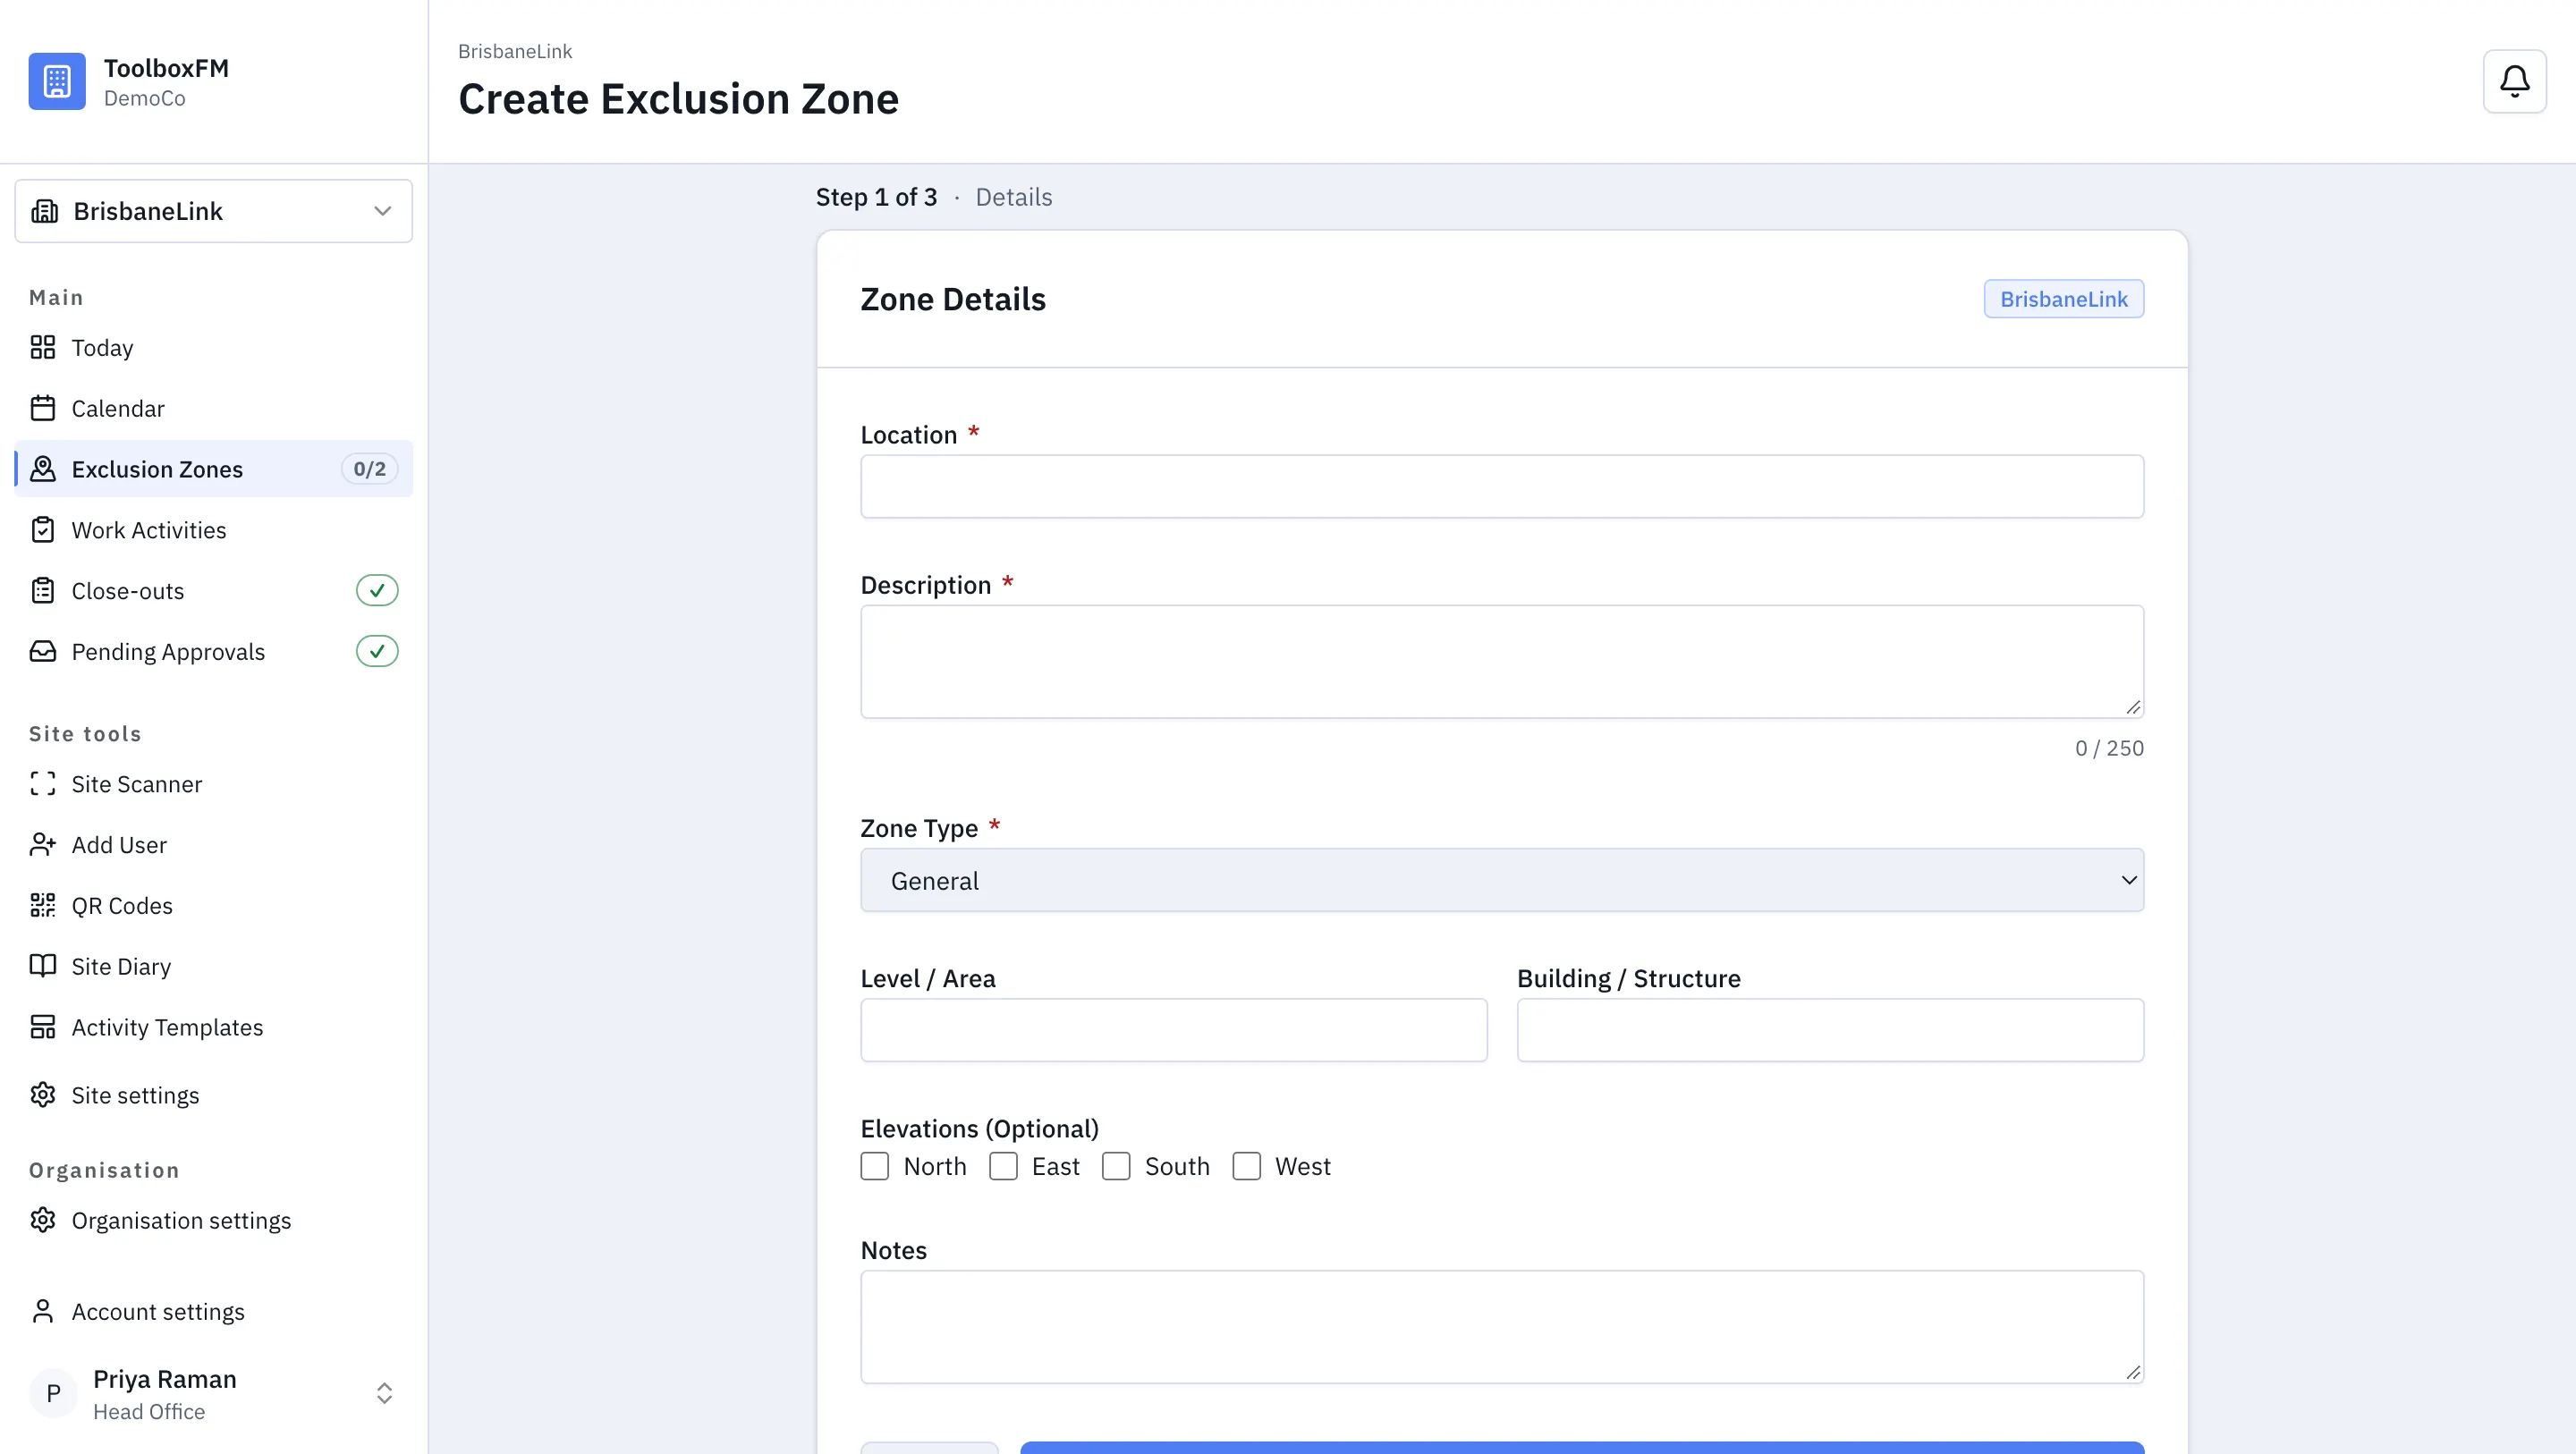
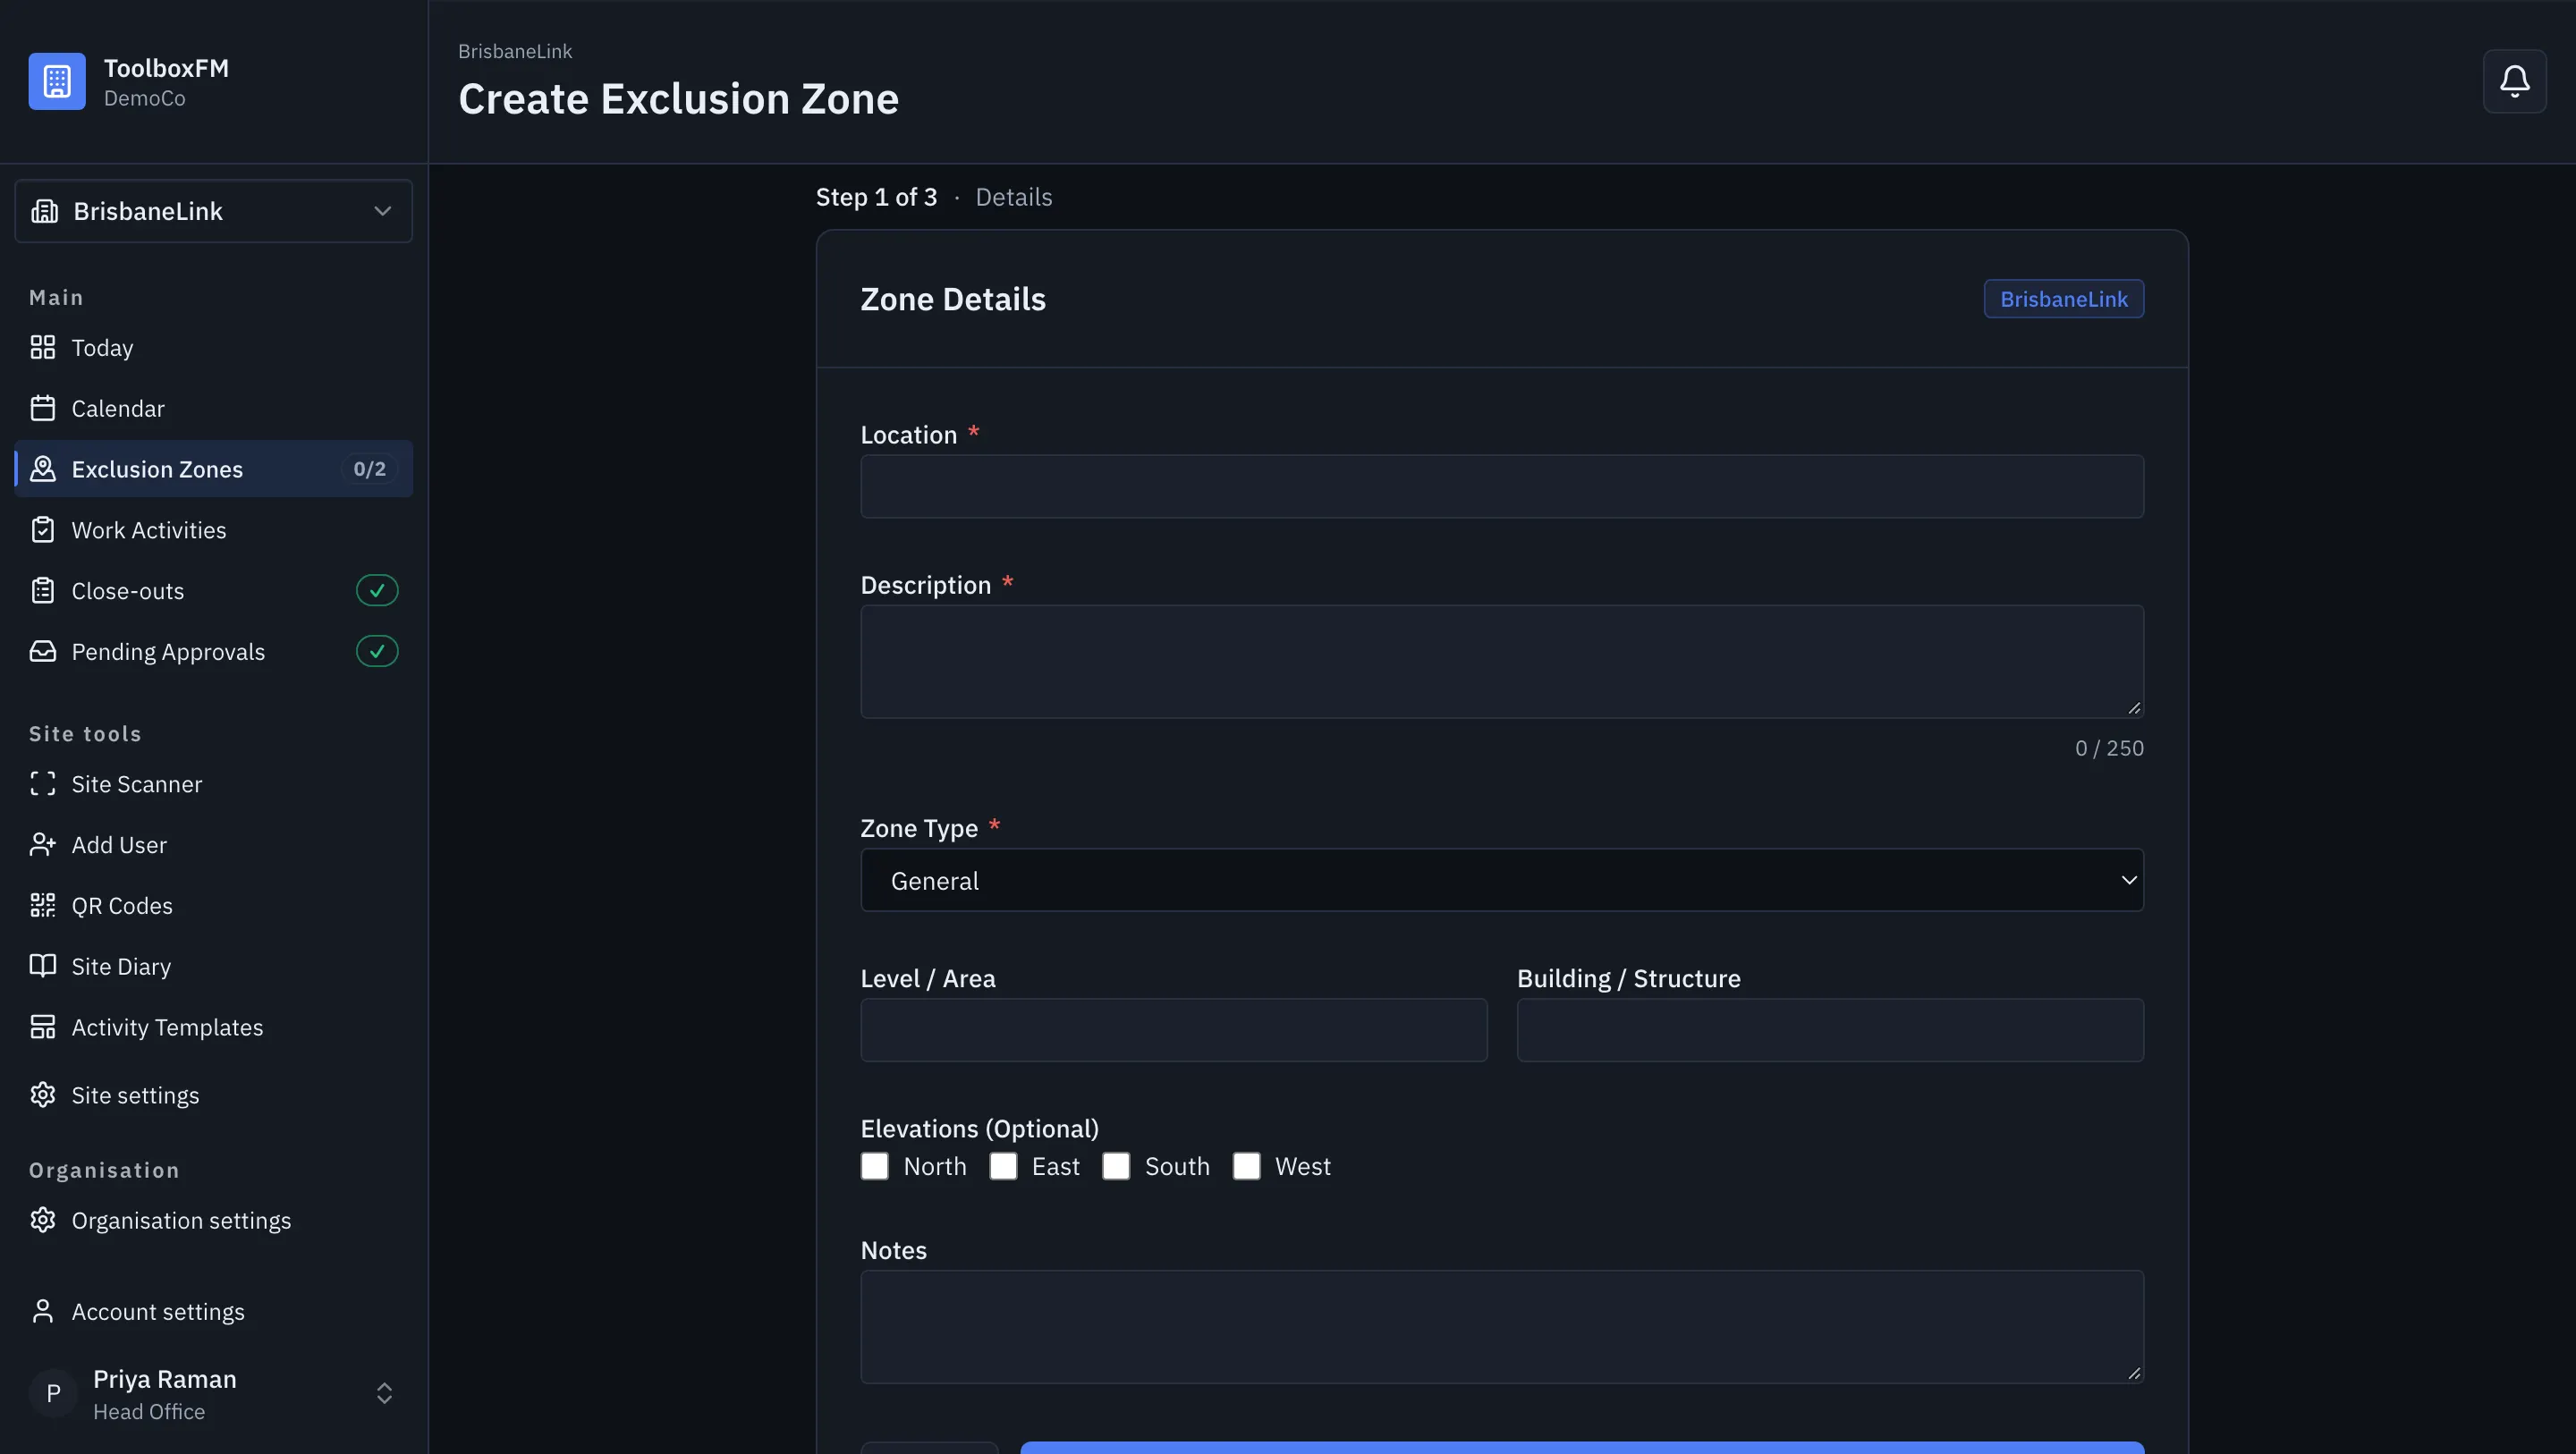
Step 4 — mark out the area. The exclusive flag is what makes the clash rules apply. -
Create a work activity. This is a crew, a job, a zone and a time window. It is the first thing that exercises approvals and the day board.
Go to ToolboxFMWork activitiesNew activity. Pick the zones the work affects, the window, and the subcontractor if it is not your own crew. If the job involves high-risk work such as Working at heights, select the types involved and answer the dropped-objects question that follows.
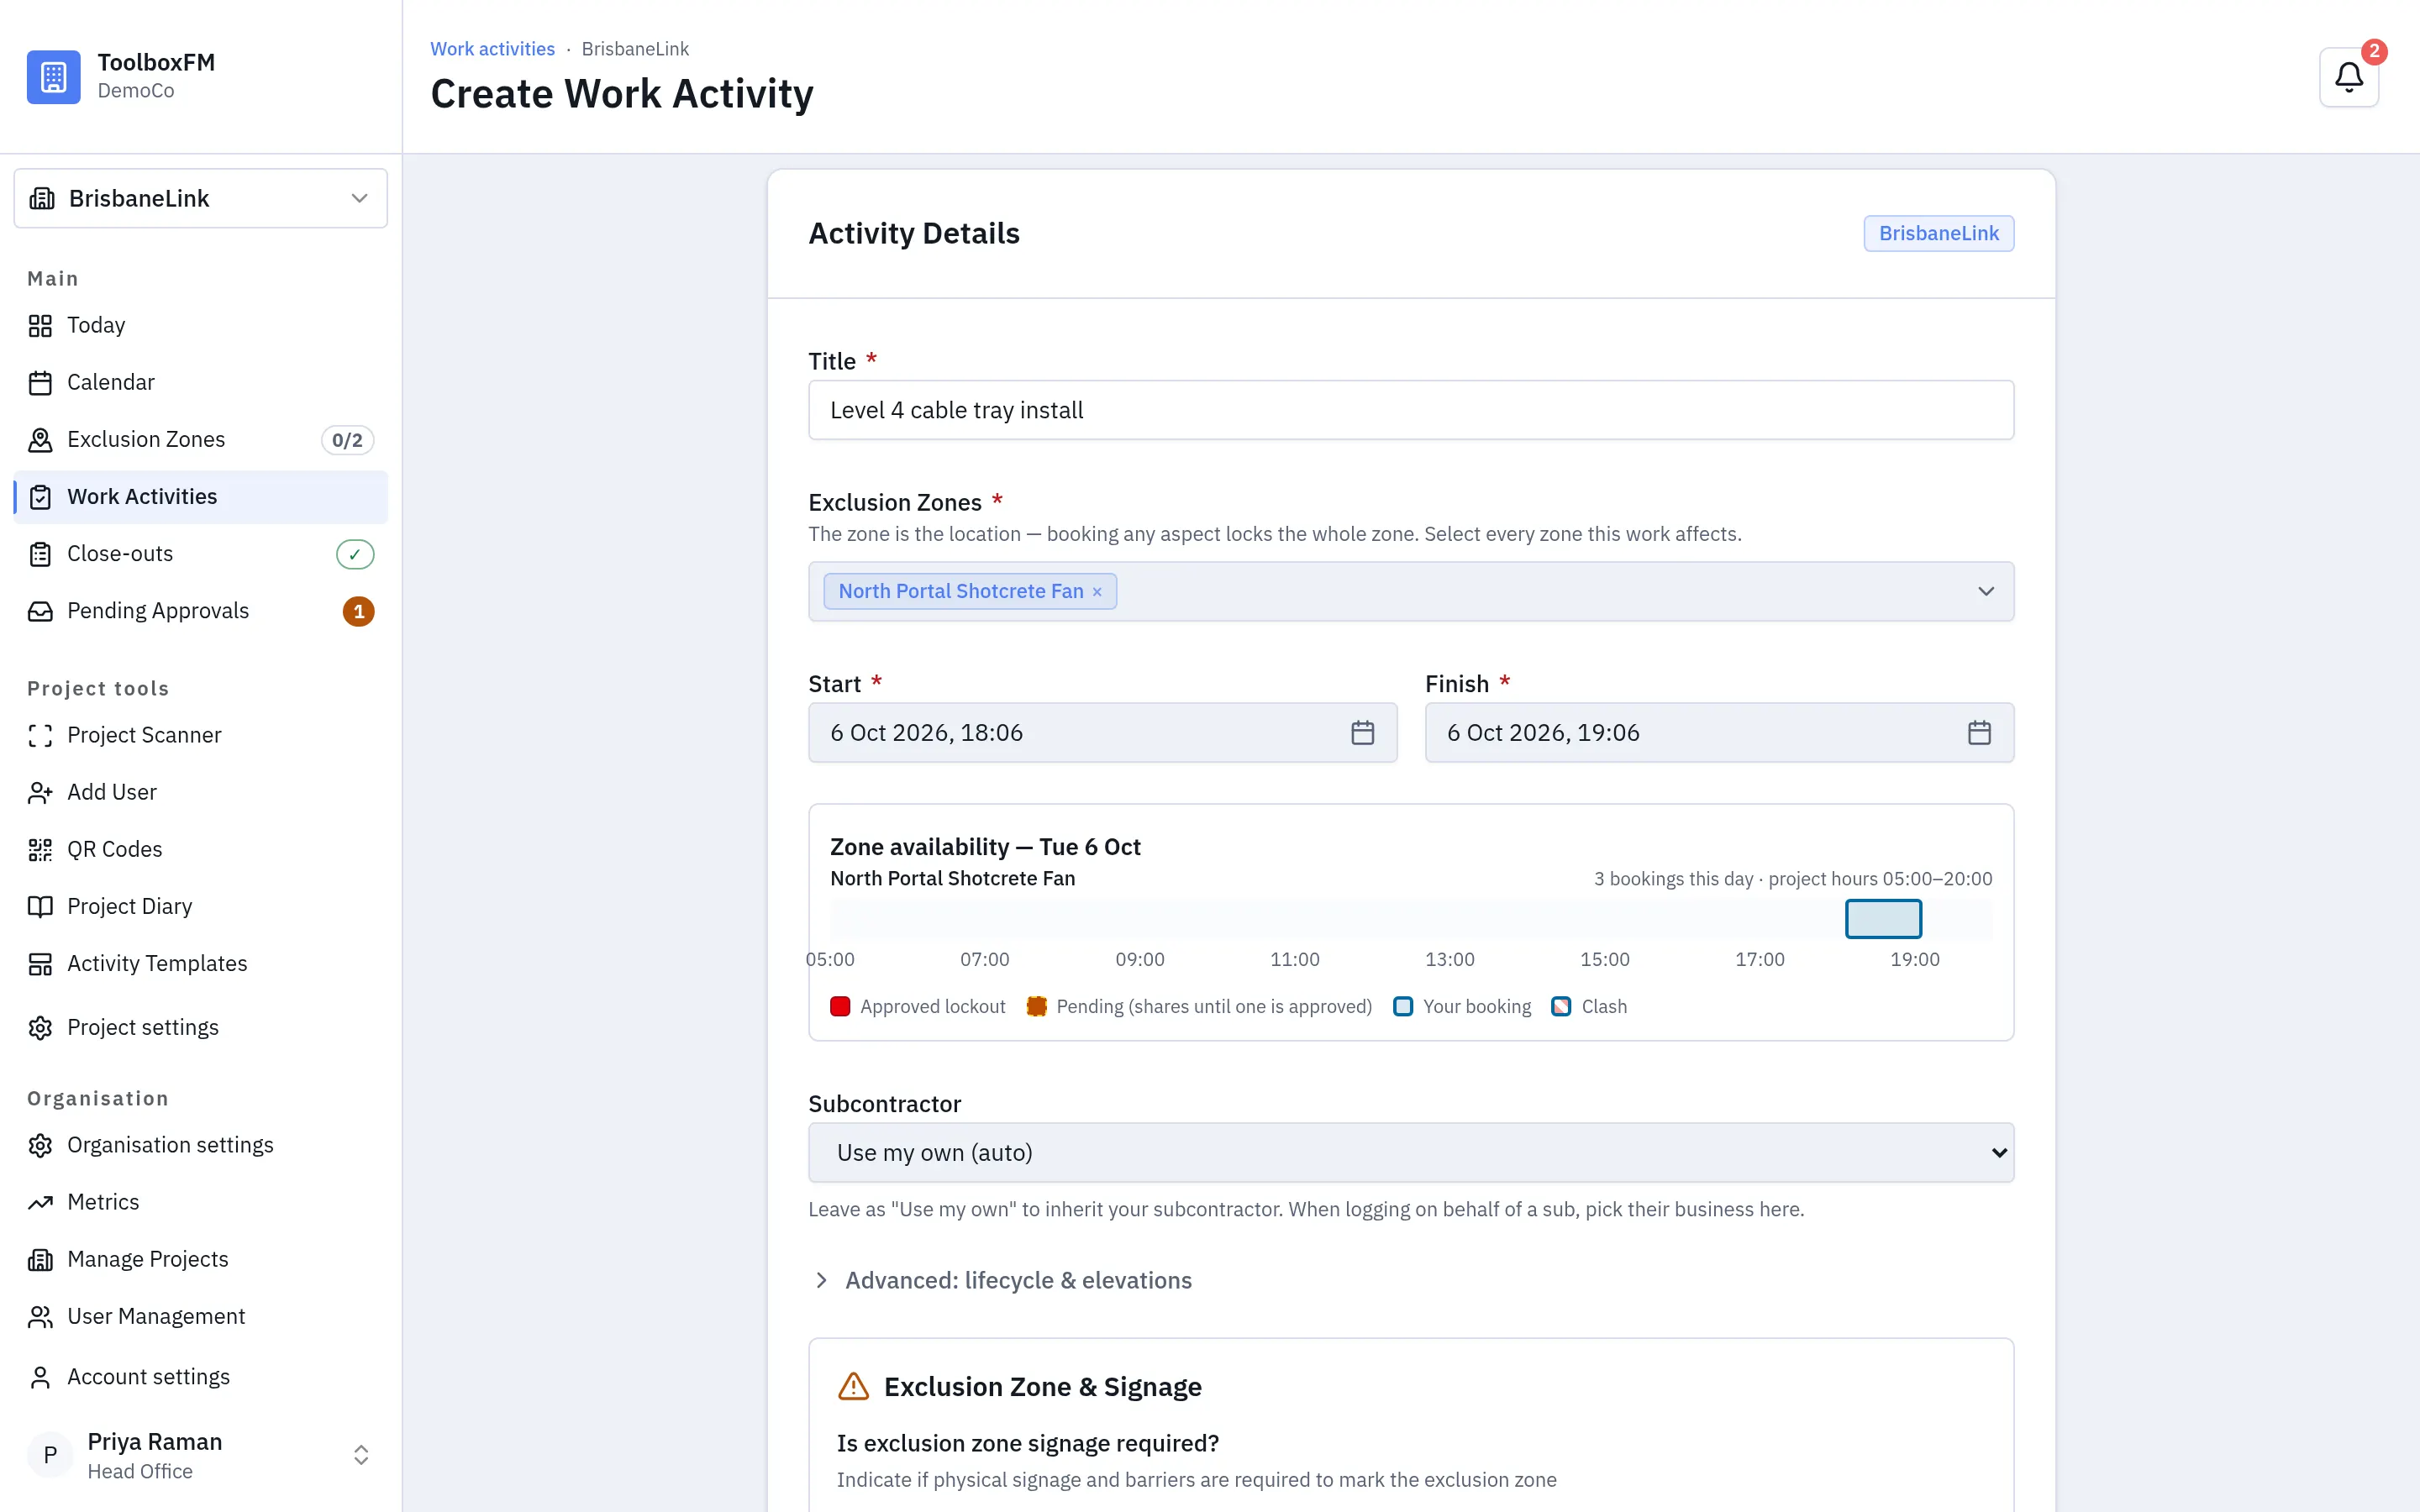
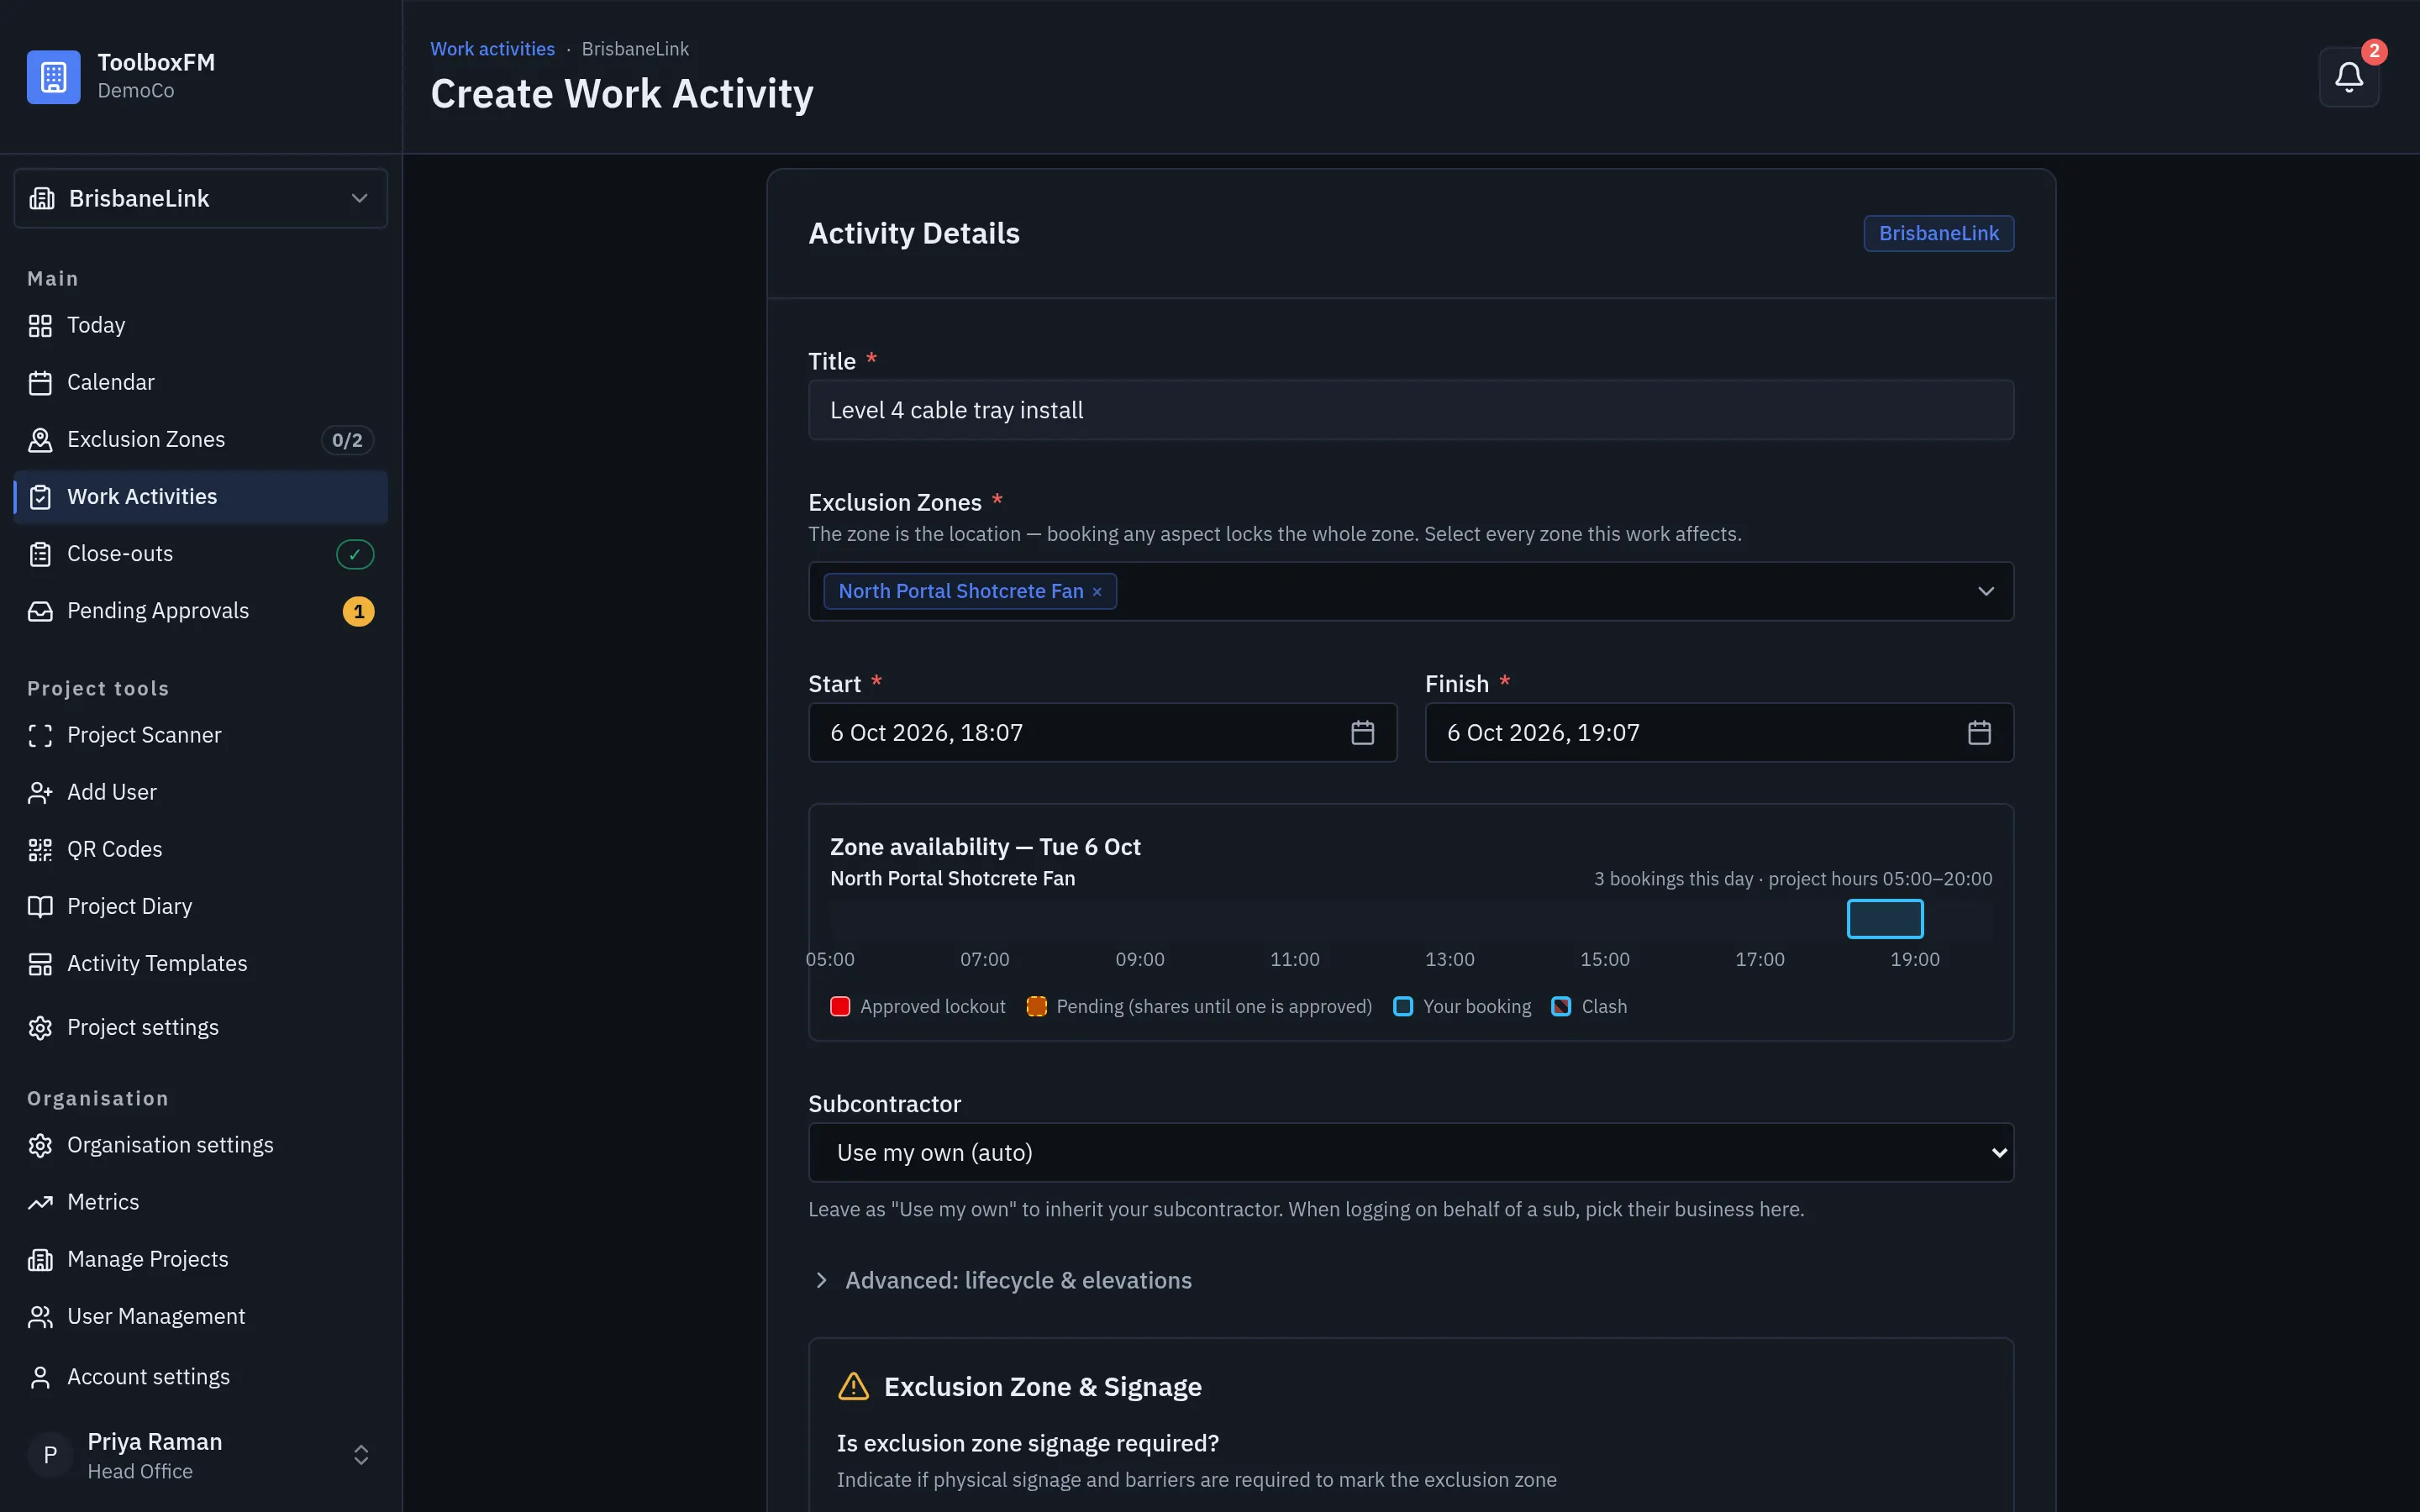
Step 5 — one crew, one job, one window. The availability check runs as you set the times.
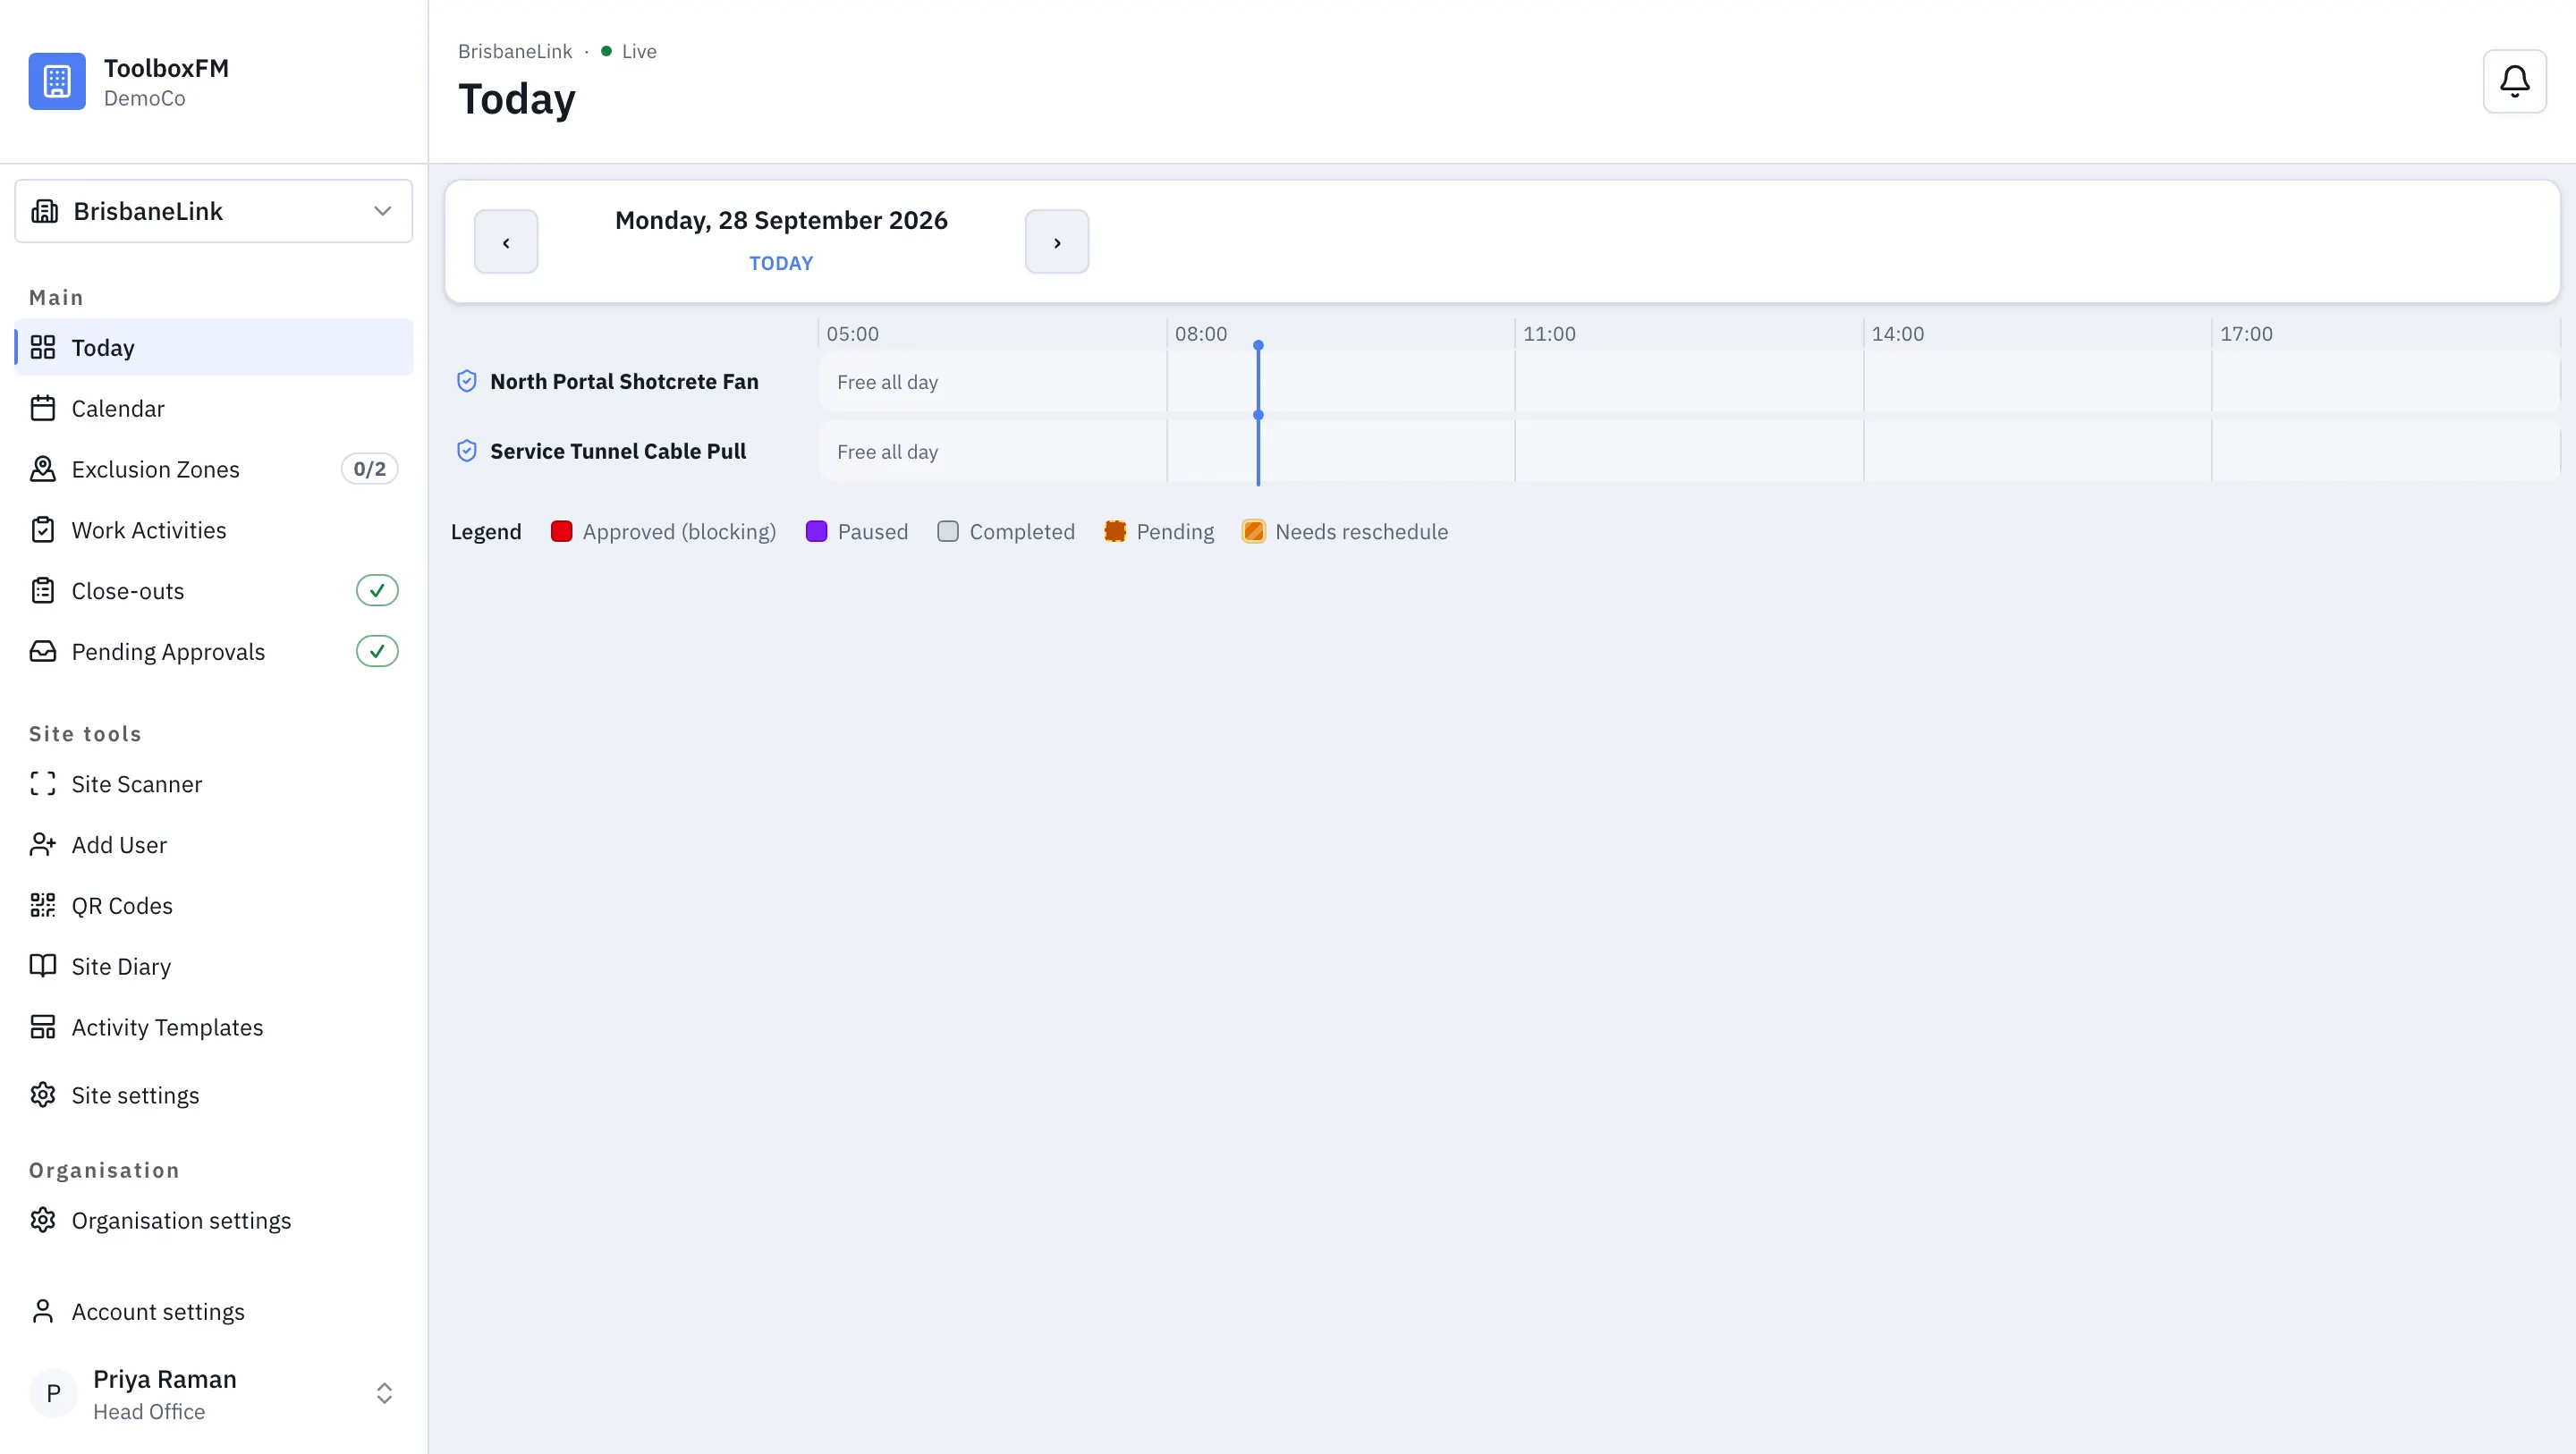
Once all five items are complete, the Getting started card disappears and the project is ready for day-to-day work.
Optional sign-in setup
Section titled “Optional sign-in setup”If your organisation uses an identity provider, set up Single sign-on. This does not block the five setup steps, and invited users on a connected domain can use your provider when they join.
Where to go next
Section titled “Where to go next”Read Run a project next — that is the day-to-day half of the product.